
When a car will not start and you only hear a click or nothing at all, the battery is often the problem. A flat or “dead” battery is stressful, but you can usually fix it with the right tools and a clear plan.
Most petrol and diesel cars use a 12 V lead-acid starter battery. This battery may be:
- A flooded lead-acid battery.
- An AGM (Absorbent Glass Mat) battery.
- An EFB (Enhanced Flooded Battery) in some start-stop vehicles.
You can usually find the battery type and capacity (in amp-hours, Ah) printed on the battery label or in the owner’s manual. You should check this information before you choose a charger or a charge setting.
You should treat every car battery as a container full of acid and energy. Because of that, you should always handle it with care, wear basic safety gear, and charge it in a space with good airflow.
Understanding Why Your Car Battery Went Flat
Before you reach for a charger or jumper cables, you should try to work out why the battery is flat.
- Lights or accessories left on: You left headlights, interior lights, or a boot light on overnight. The car battery gave power until it was empty.
- Old battery (4–5 years or more): The battery starts the car more slowly on cold mornings. After several years, the plates inside wear out and the battery cannot hold charge well.
- Short trips only: You drive only a few kilometres each day. The alternator does not get long enough to replace the energy used when you start the engine.
- Loose or corroded terminals: The clamps on the battery posts are loose or covered in white or blue-green corrosion. The car cannot get full power and the alternator cannot charge properly.
- Faulty charging system (alternator or wiring): The engine runs, but the alternator does not send enough voltage back to the battery. The battery slowly discharges, even though you drive regularly.
- Hidden electrical draw (often called “parasitic drain”): A device, module, or aftermarket accessory keeps drawing small amounts of power while the car is off. Over a night or a weekend, the battery runs flat even though you did not leave anything obvious on.
If you know you made a mistake, such as leaving the headlights on, a recharge or jump start may be all you need. If the battery is old or has been slow for a while, you should treat this as a warning sign and think about a new battery.
How Long A Car Battery Usually Lasts
Most 12-volt lead-acid car batteries last about three to five years under normal use. Heat, short trips, and poor maintenance usually shorten this life.
Because of this, you should treat any battery older than three years as “suspect” and you should test it more often.
Related resources: How Long Does a Car Battery Last
Step By Step How To Charge A Car Battery With A Charger
This is the standard way to charge a car battery when you have access to grid power or a powered outlet.
Tools And Safety Gear You Need Before You Charge
Before you start, you should gather your tools and safety gear so you do not rush or skip steps.
You should have:
- A 12 V battery charger that suits your battery type (flooded, AGM, EFB) and capacity.
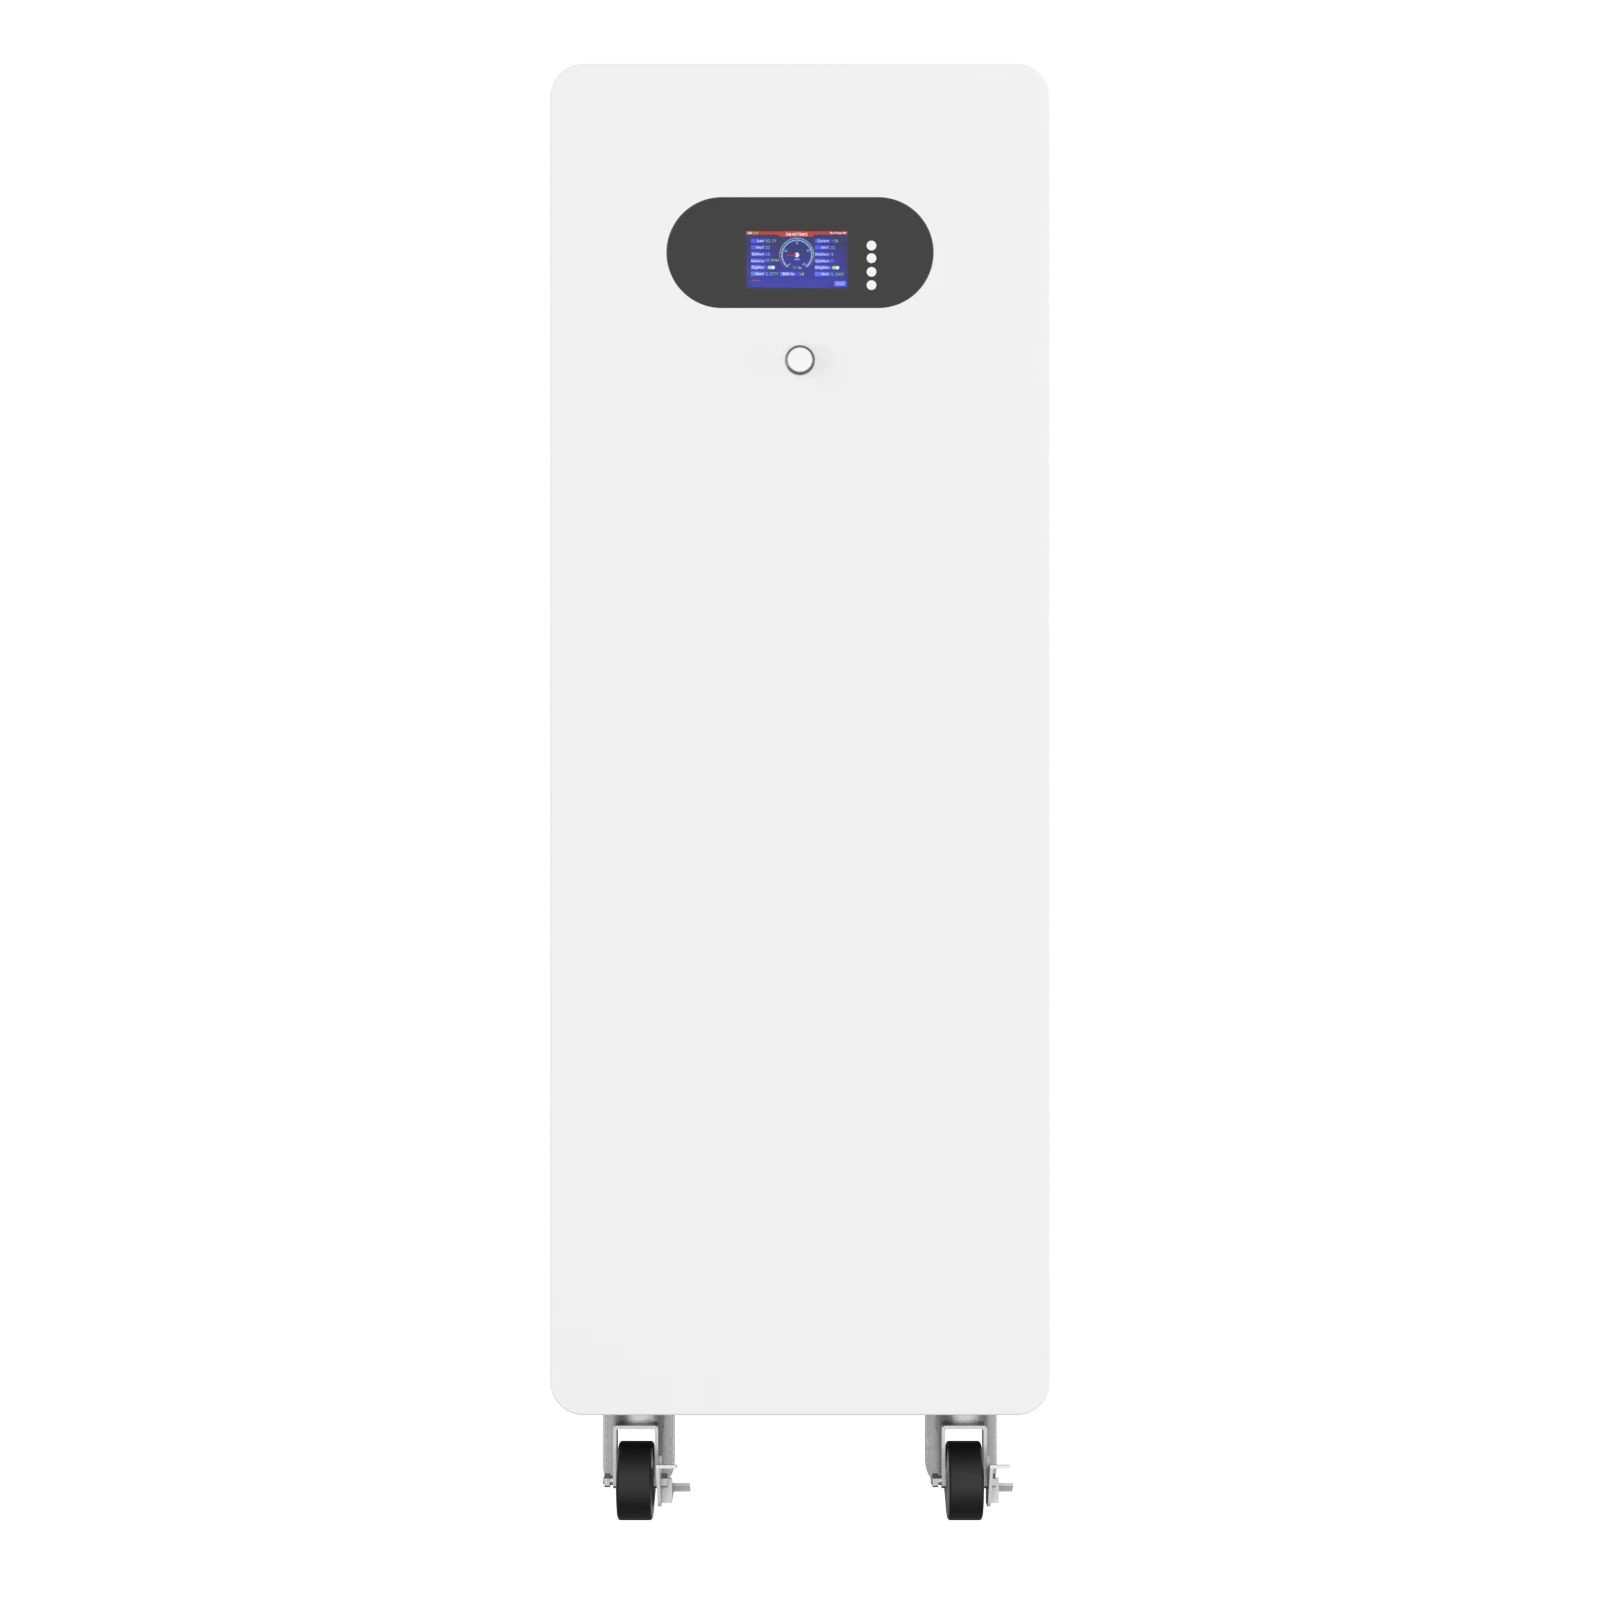
- A power source, such as a wall outlet or an inverter powered by a home battery system like an Avepower energy storage unit.
- A pair of safety glasses and gloves to protect your eyes and hands from acid and sparks.
- A wire brush and a mix of baking soda and water, or a commercial terminal cleaner, for removing corrosion.
- A 10 mm spanner (or the correct size for your car) to remove and refit cable clamps if needed.
- A digital multimeter if you want to measure battery voltage before and after charging.
You should also make sure you work in a well-ventilated area away from flames, cigarettes and sparks, because charging batteries can release flammable hydrogen gas.
Step 1: Find The Battery And Terminals
You should first find the battery and the positive and negative points that you can use.
- You should open the bonnet and look for the battery or for red “+” covers on remote terminals.
- You should remember that some cars place the battery in the boot or under a seat and provide special posts in the engine bay for charging or jump starting.
- You should confirm the location in the owner’s manual if you are not sure.
The positive terminal usually has a red cover or a “+” mark. The negative terminal usually has a black cable and a “-” mark.
Step 2: Inspect The Battery
Before you connect anything, you should inspect the battery.
- You should look for cracks, bulges, or wet areas.
- You should check for heavy white or green corrosion on the posts.
- You should look at any vent caps and make sure that they are not blocked.
If you see damage or leaks, you should not charge the battery. You should instead replace the battery and ask a workshop to check the charging system.
Step 3: Decide Whether To Disconnect The Battery
Many smart chargers allow you to charge the battery while it stays connected in the car. However, you may still gain safety if you disconnect the battery.
- You should remove the negative (-) cable first if you choose to disconnect.
- You should remove the positive (+) cable second.
- You should note or photograph any radio codes or settings that may reset when you disconnect the battery.
If your car or charger manual suggests disconnecting the battery before charging, you should follow that advice.
Step 4: Clean The Terminals
Clean terminals give better contact and safer charging.
- You should mix baking soda with water or use a commercial cleaner.
- You should gently scrub the posts and inside of the clamps with a wire brush.
- You should rinse away residue with clean water and then dry the area.
You should avoid getting water into open vent caps if your battery is not fully sealed.
Related resources: How to Clean Battery Terminals and Keep Working Longer

Step 5: Set Up The Charger
You should make sure that the charger is switched off and unplugged before you connect it to the battery.
Then you should:
- Check that the charger is set to 12 V.
- Select a low to medium amp setting, often between 2 and 10 amps. For most passenger car batteries, a charge rate close to 10% of the battery’s amp-hour rating is gentle. (For example, you can use 5 A for a 50 Ah battery.)
- Select “normal” or “lead-acid” mode if the charger supports different battery types.
A low amp rate will usually take longer, but your battery will thank you with a longer life.
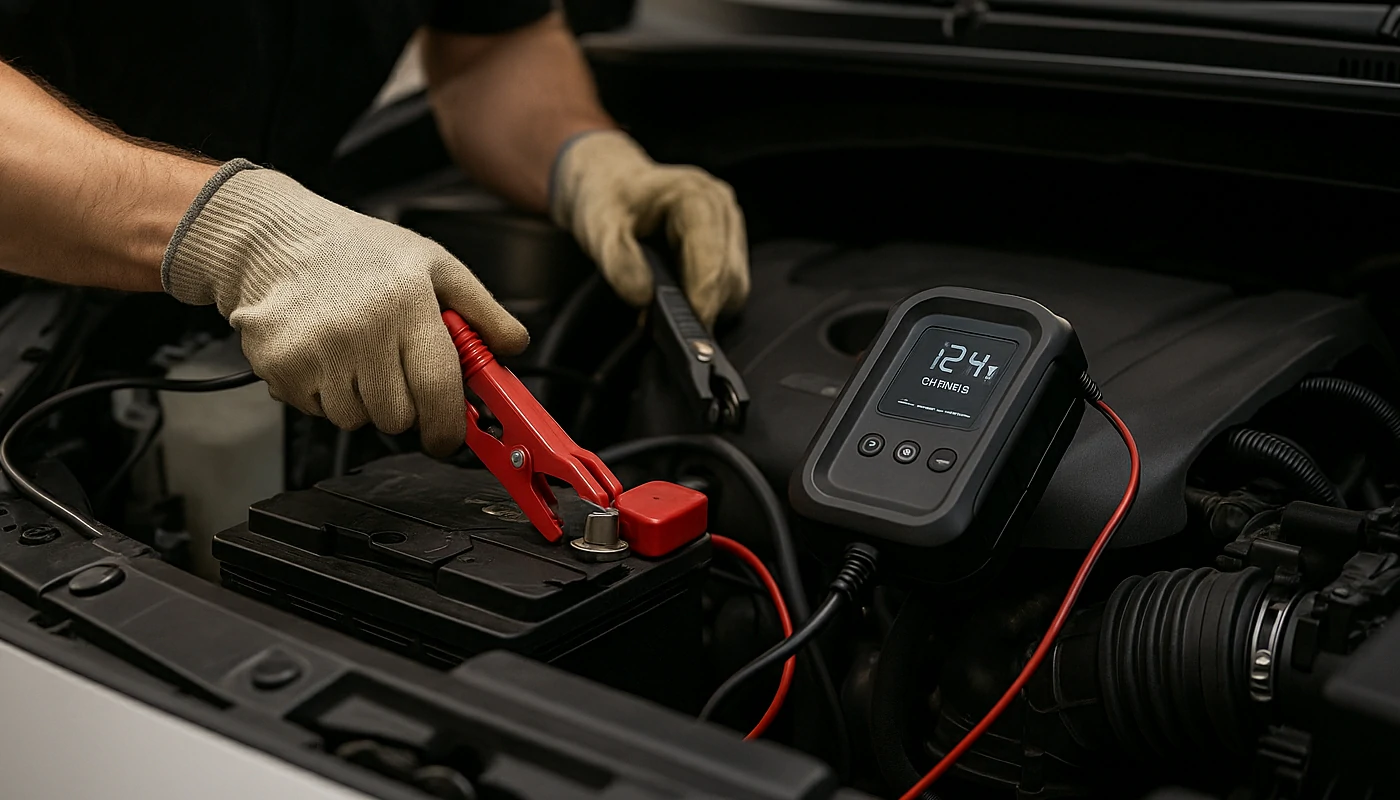
Step 6: Connect The Charger Clamps
You should now connect the clamps in the correct order:
- You should connect the red clamp to the battery’s positive (+) terminal.
- You should connect the black clamp to the negative (-) terminal or to a clean, unpainted metal part of the engine or chassis if the battery remains connected in the car.
You should give each clamp a small twist or wiggle to make sure that it grips firmly. You should keep the charger itself as far away from the battery as the leads allow.
Step 7: Start Charging
Once the clamps are secure, you should:
- Plug the charger into the wall outlet.
- Switch the charger on.
- Confirm that any indicator lights or screens show a normal charging process.
Modern smart chargers usually adjust the charge in stages, and they often switch to a “float” or “maintenance” mode when the battery reaches a full charge.
Approximate Charging Time Guide
You can use this table as a rough guide for a flat but healthy battery:
| Battery Size (Ah) | Charge Rate (A) | Typical Time From Very Low To Near Full |
|---|---|---|
| 40 Ah | 4 A | About 10–12 hours |
| 50 Ah | 5 A | About 10–12 hours |
| 60 Ah | 6 A | About 10–12 hours |
| 70 Ah | 7 A | About 10–14 hours |
*These times are estimates and assume a healthy battery and a modern multi-stage charger.
Related resources: how long does it take to charge a car battery
You should expect at least several hours for a deep recharge. Overnight charging is common.
Step 8: Switch Off And Disconnect
When the charger shows that the battery is full, you should:
- Switch the charger off.
- Unplug the charger from the wall.
- Remove the black clamp from the negative point.
- Remove the red clamp from the positive point.
If you removed the battery from the car earlier, you should now reinstall it:
- You should place it firmly in the tray and refit any bracket.
- You should connect the positive cable first and the negative cable second.
- You should check that both clamps are tight and do not move when you twist them.
Step 9: Confirm The Charge
You can use a multimeter to confirm your results:
- You should let the battery rest for about 30 minutes without load.
- You should measure across the posts.
- A healthy, fully charged lead-acid battery should show about 12.6–12.8 V.
If the voltage drops quickly below about 12.3 V after you remove the charger, your battery may be near the end of its life.
How Long Does It Take To Charge A Car Battery
Charging time depends on how empty the battery is and how much current the charger supplies. The table below gives a rough guide for a 45–60 Ah car battery.
| Charger Setting | Approx Current | Rough Time From Very Flat To Near Full |
|---|---|---|
| 2 A trickle mode | 2 amps | 20–30 hours |
| 4 A slow charge | 4 amps | 10–15 hours |
| 8 A medium charge | 8 amps | 5–8 hours |
| 15–20 A fast/boost | 15–20 amps | 2–4 hours (harder on the battery) |
*These times are only estimates. Actual times vary with battery size, state of charge, temperature, and charger design.
For battery life, you should use the lower ranges when you have time. A fast charge is useful in an emergency but should not be your daily habit.
Types Of Battery Chargers And What They Do
A good charger can add several years to your battery life. You should pay attention to three points: battery type, battery size, and charger features.
Match The Charger To Your Battery Type
You should check the label on your battery and the manual for the car. Common types include:
- Flooded lead-acid
- AGM (absorbed glass mat)
- EFB (enhanced flooded battery)
Many smart chargers can handle several types, but you should always confirm that your charger is suitable for your specific battery type.
Match The Charger To Your Battery Size
You should also know the battery’s capacity, which is usually shown in amp-hours (Ah).
- You should look for a marking like “60 Ah” or “70 Ah” on the battery label.
- You should choose a charger with a maximum current around 10% of that number for regular charging.
For example, if you have a 70 Ah battery, you should choose a charger that can charge at around 7 A for normal use and perhaps has a lower 2–4 A mode for gentle maintenance.
Compare Charger Types
| Charger Type | How It Works | Pros | Cons |
|---|---|---|---|
| Simple constant charger | Sends a fixed current to the battery | Cheap, basic | Easier to overcharge if not monitored |
| Trickle charger | Sends a very low current over long time | Good for long-term storage | Can overcharge if not designed for float |
| Timer-based charger | Runs for a set period then shuts off | Simple control | Risk of under- or overcharging |
| Smart (intelligent) | Adjusts current and voltage by battery status | Safer, can stay connected in float mode | Often higher cost but better long-term |
For most modern cars, a smart multi-stage charger is the best choice. It can check the state of charge, bulk charge, absorb, and then maintain the battery without overcharging it.
If you have several cars, a boat, or a caravan, you may want a charger that can handle different sizes and that includes a maintenance mode. You can then move the charger around vehicles that sit for weeks at a time.
How To Charge Or Start A Car Battery Without A Charger
Sometimes you do not have a mains charger with you. In that case, you can often still get the engine going.
Option 1: Use A Portable Jump Starter
A portable jump starter is a compact power pack that you keep charged and store in your boot.
Steps:
- Make sure the jump starter itself is charged (usually above 75%).
- Turn the car ignition off and engage the handbrake.
- Connect the red clamp from the jump starter to the battery’s positive (+) terminal.
- Connect the black clamp to the negative (–) terminal or a solid metal part of the engine or chassis.
- Turn on the jump starter (some have a “boost” button).
- Try to start the car. Do not crank the engine for more than 5 seconds at a time.
- If the car starts, let it idle for a few minutes.
- Turn off the jump starter and remove the clamps in reverse order (black off first, then red).
This method does not fully charge the battery. It only gives enough power to start the engine. You should drive for at least 30–60 minutes afterwards to let the alternator recharge the battery, or use a proper charger later.
Option 2: Use Jumper Cables And Another Car
If another vehicle is available, you can draw power from its battery.
Setup:
- Park the two cars close enough for the cables to reach, but do not let them touch.
- Turn both ignition switches off and engage both handbrakes.
Connection order:
- Clamp one red lead to the positive (+) terminal of the flat battery.
- Clamp the other red lead to the positive (+) terminal of the donor car battery.
- Clamp one black lead to the negative (–) terminal of the donor battery.
- Clamp the other black lead to a clean, unpainted metal part of the engine or chassis on the car with the flat battery (not to the negative terminal if you can avoid it).
Starting:
- Start the donor car and let it run for 1–2 minutes.
- Try to start the car with the flat battery.
- If it does not start, wait another minute and try again.
- Once it starts, let both cars idle for a few minutes.
Disconnect in reverse order:
- Remove the black clamp from the car that had the flat battery.
- Remove the black clamp from the donor car.
- Remove the red clamp from the donor car.
- Remove the red clamp from the car that had the flat battery.
Then drive the revived car for at least 20–30 minutes to give the alternator time to recharge the battery.
Charging A Car Battery When You Have No Grid Power
If you are camping, off-grid, or stuck during a power outage, you still have options.
Option 1: Use Solar Panels With A Charge Controller
If you have a 12-volt solar panel and a suitable solar charge controller, you can connect the car battery to the controller and let the sun do the work.
- You should connect the panel to the controller according to the controller manual.
- You should connect the car battery to the controller output, again following the labels for positive and negative.
- You should make sure that the controller supports your battery type and has proper over-charge protection.
This method is common for caravans and 4×4 setups, but it may take a long time if the panel is small or the weather is cloudy.

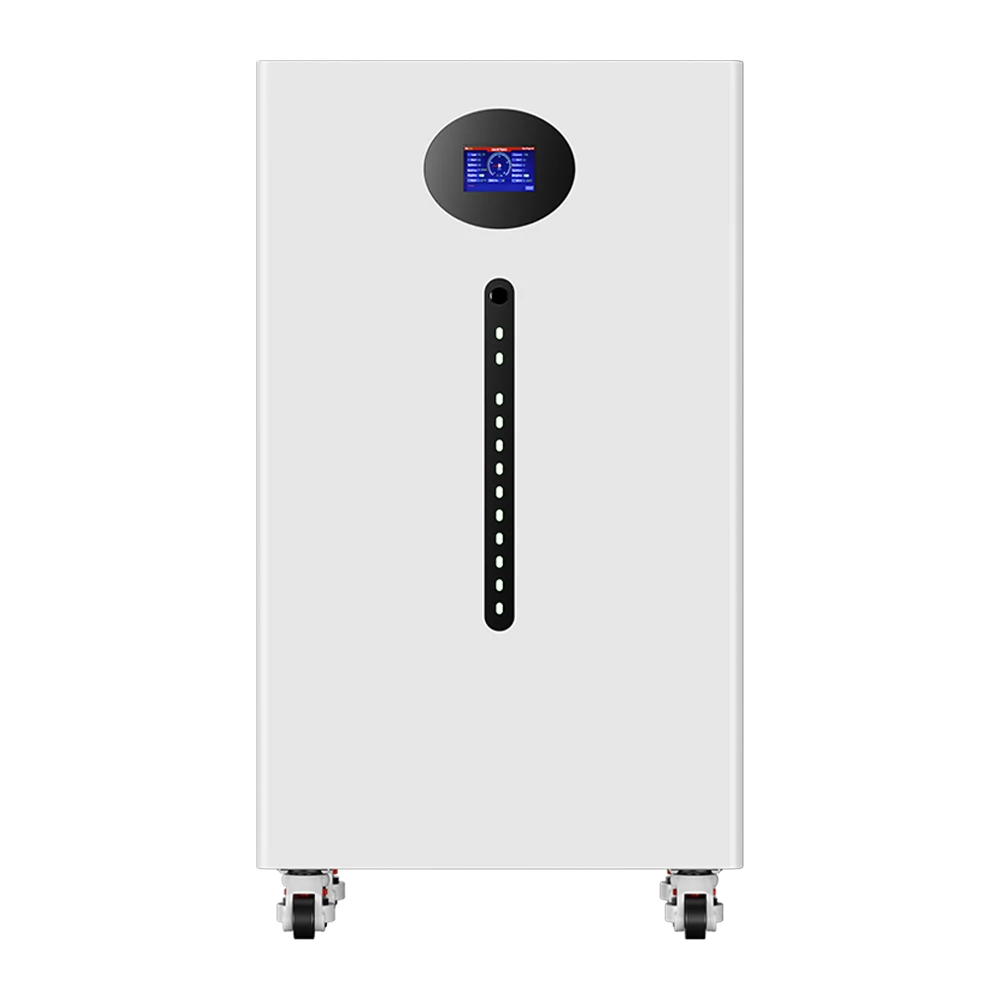
Option 2: Use A Home Energy Storage Battery
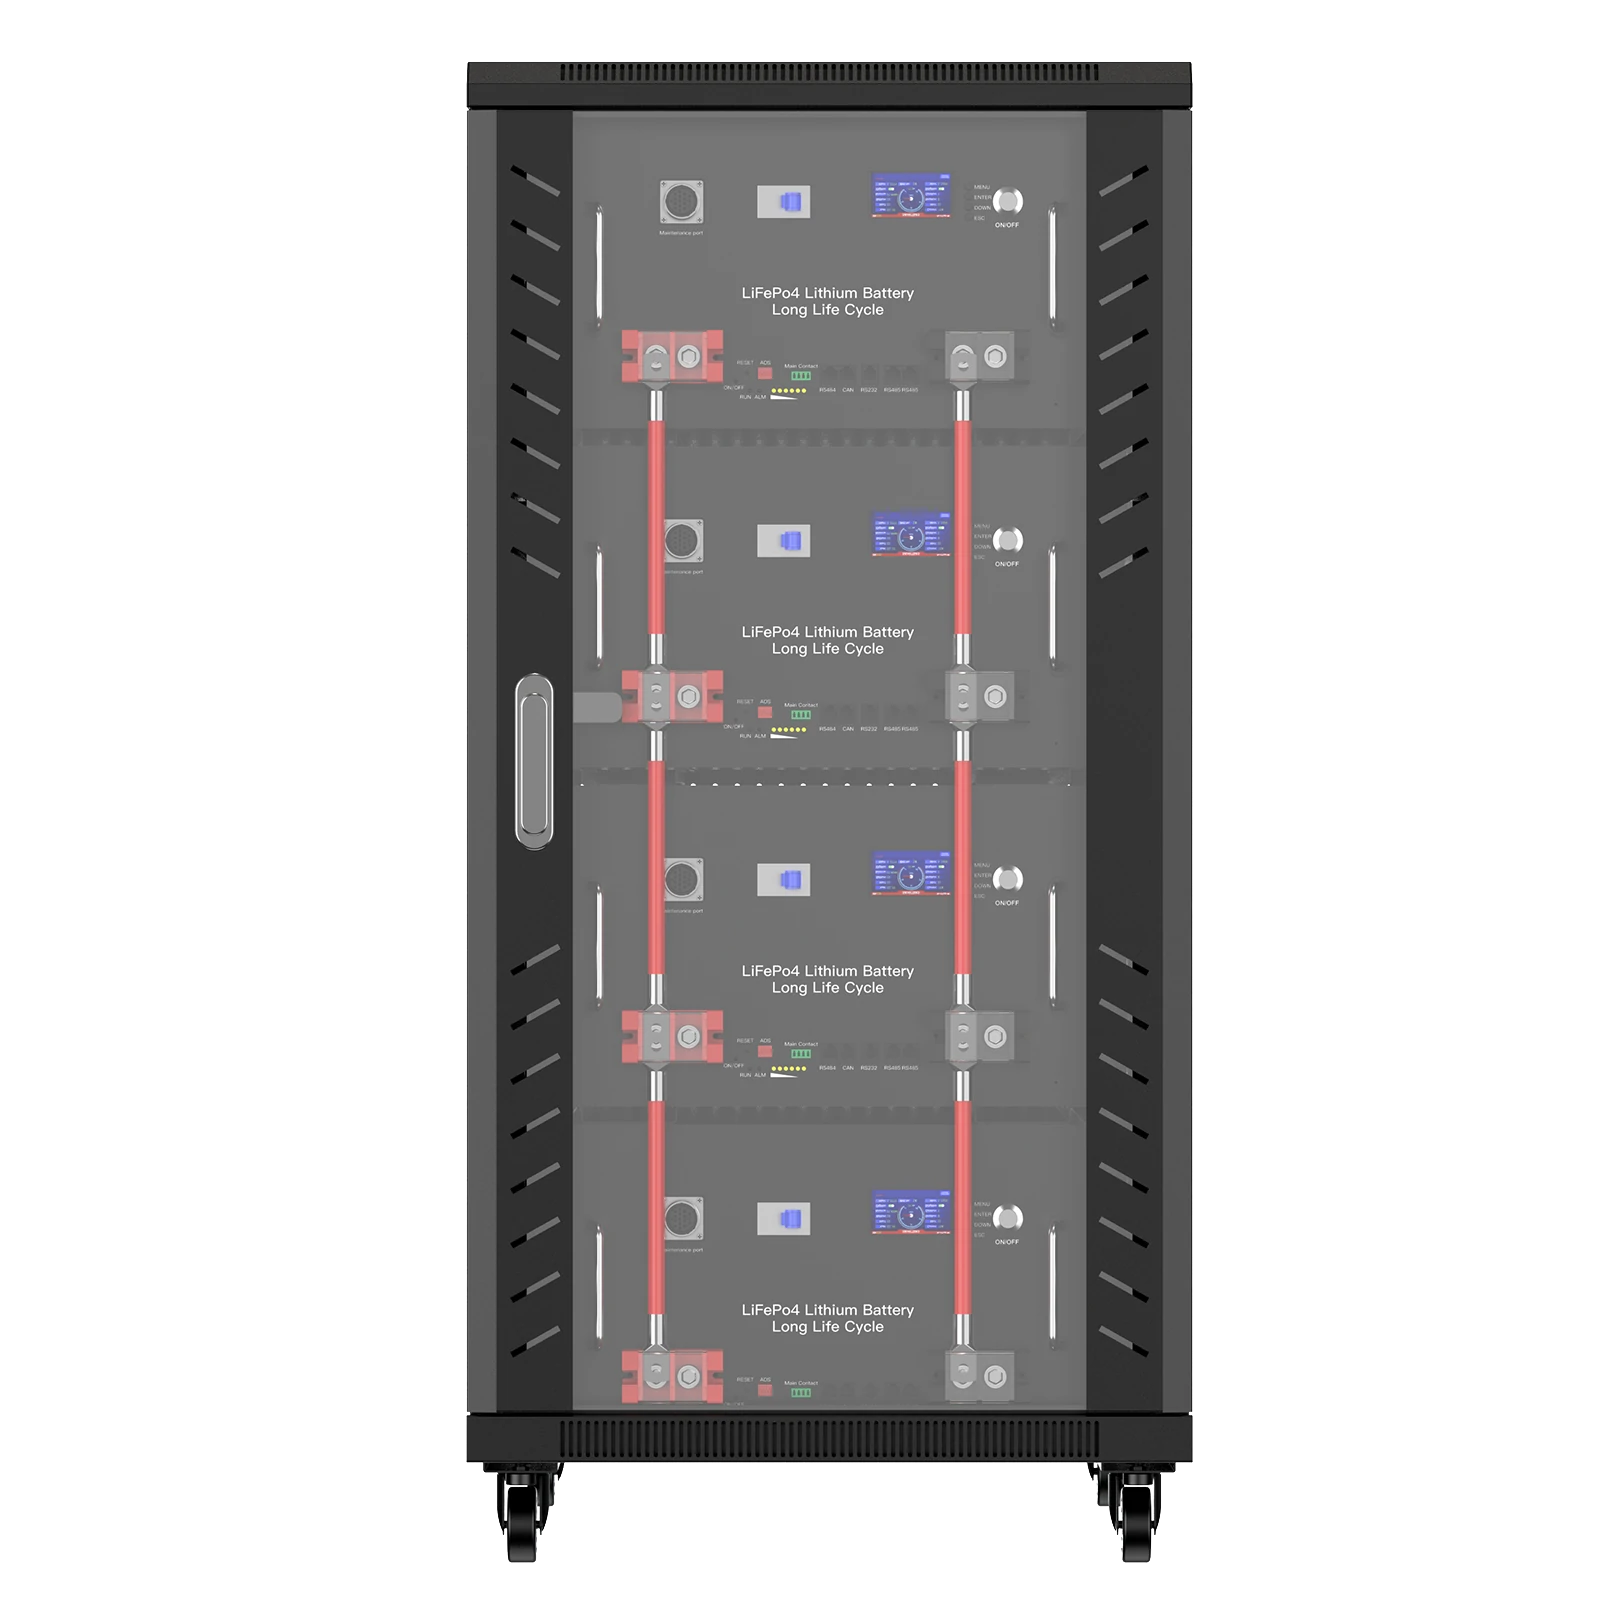
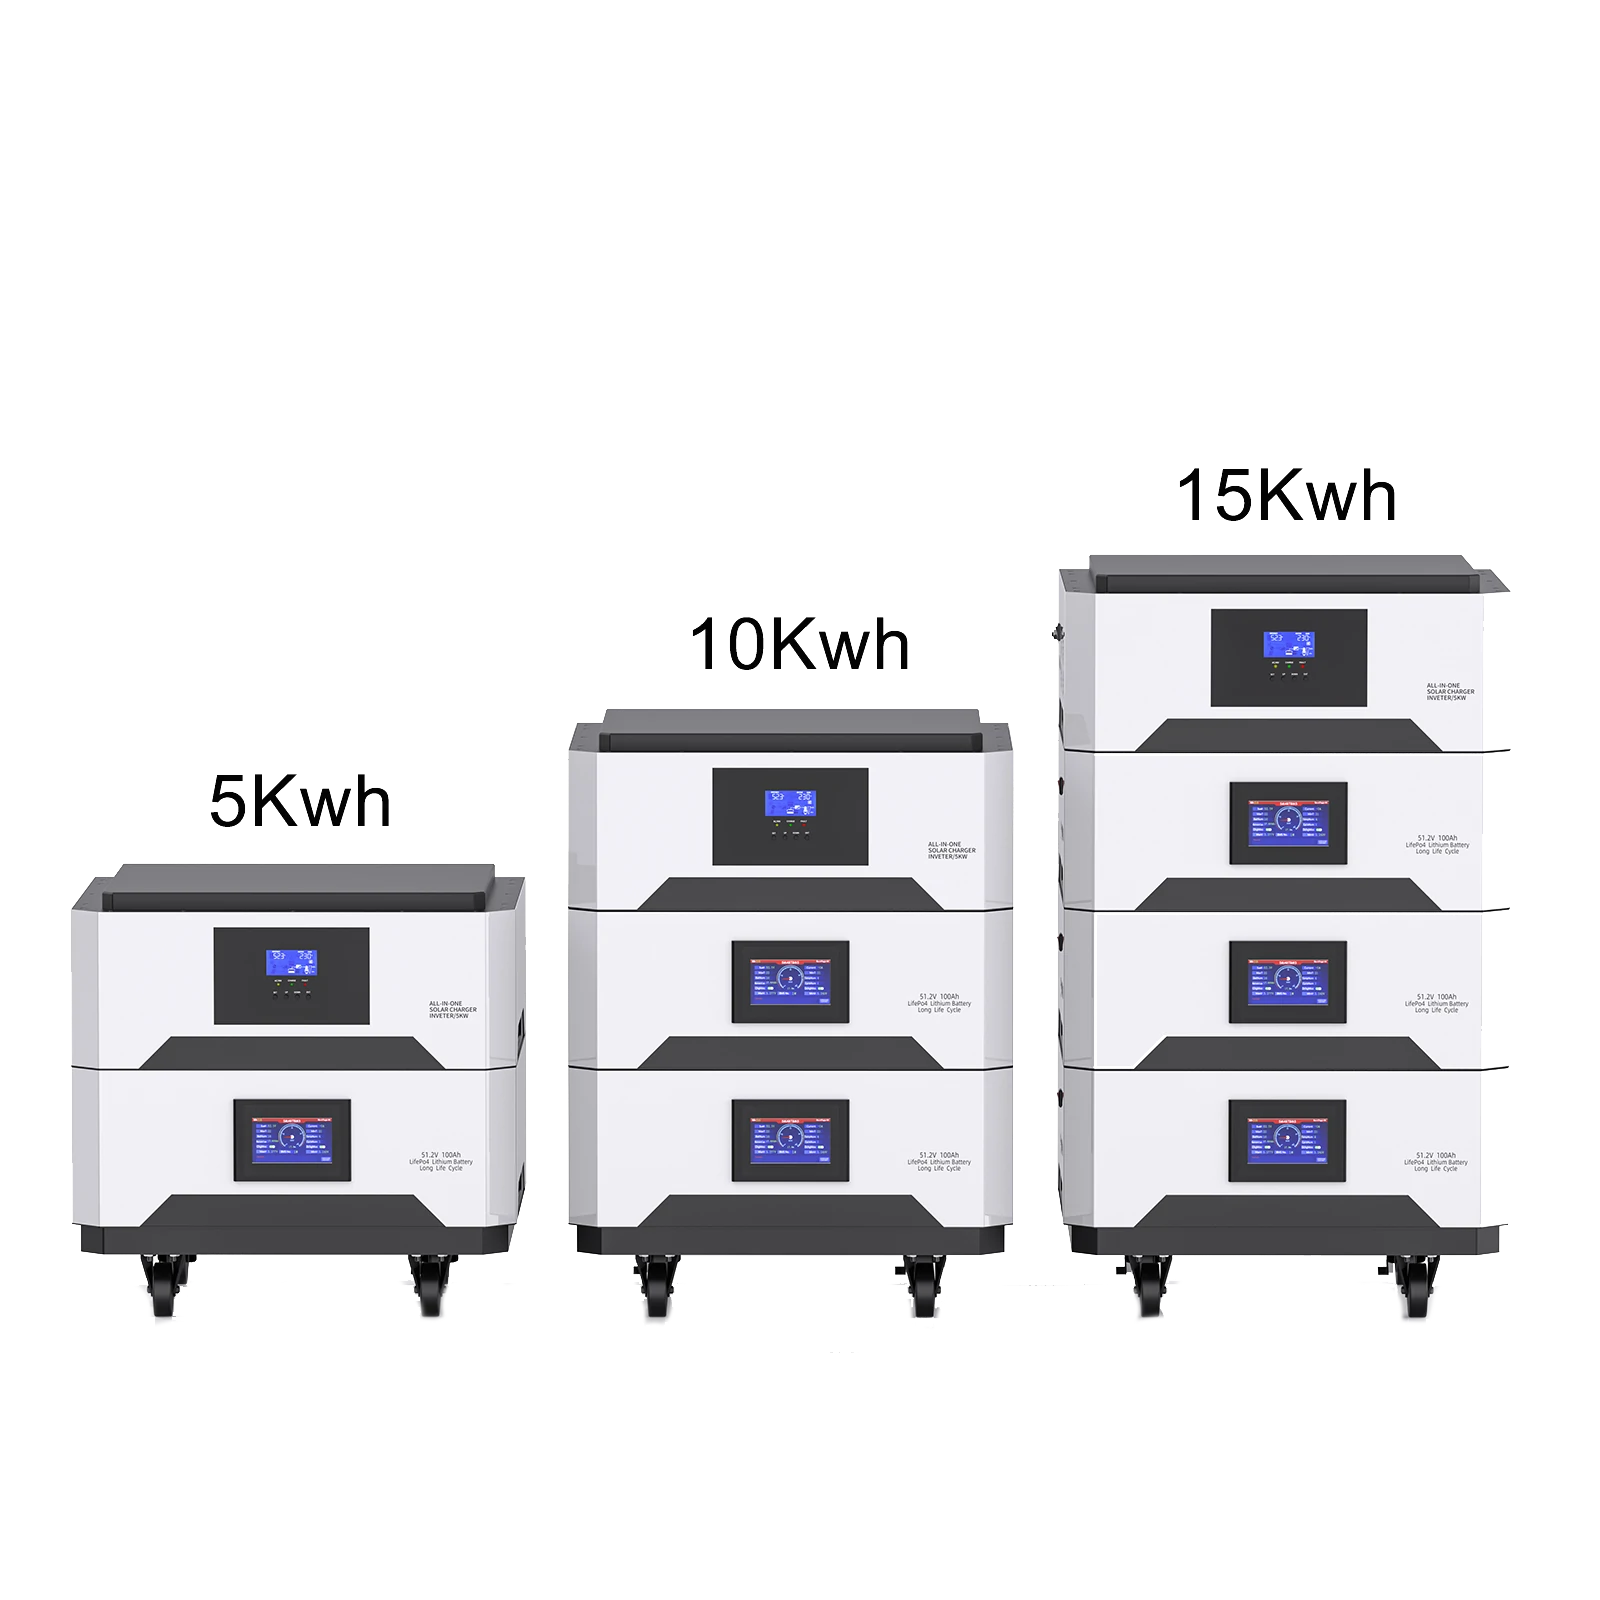
If your home has a battery storage system plus an inverter, you can often treat it as a quiet generator. You can plug a normal smart charger into an outlet that is powered by the home battery and charge your car battery in the same way you would with grid power.
- A home battery system, such as a solar battery made by Avepower, stores energy when the grid is up or when the sun is shining.
- During a blackout or in off-grid homes, that stored energy can keep important loads running: lights, fridge, phone chargers – and also a 12 V car battery charger through normal household circuits.
- You simply plug your car battery charger into a powered outlet that is backed by the home battery and follow the same safe steps described earlier.
For many drivers, this combination of rooftop solar, an Avepower storage battery, and a small smart charger gives real peace of mind: you can keep essential home loads running and still bring a flat car battery back to life without fuel or noise.

Why Your Battery May Still Go Flat After Charging
If your battery goes flat again soon after charging, you may have another problem.
The Charging System May Have A Fault
The alternator and related parts keep the battery topped up while you drive.
- You should suspect a charging system fault if the battery warning light comes on while driving.
- You should suspect a fault if the lights go dim when you sit at idle and brighten only when you rev the engine.
- You should ask a workshop or auto electrician to test the alternator and related cables if you see these signs.
Many modern battery testers can also check charging system performance in a few minutes.
The Car May Have A Hidden Power Drain
A hidden drain means something is using power while the car is switched off.
- You should rule out simple causes first, such as a boot light that does not turn off or an accessory left in a power socket.
- If nothing obvious shows up, you should ask an auto electrician to measure the current draw when the car sleeps.
- A skilled technician can pull fuses one by one to track down which circuit is drawing too much power.
Fixing a hidden drain often needs test tools and wiring knowledge, so it is usually not a home job.
When You Should Replace The Battery Instead Of Charging It
Charging cannot fix every battery. In some cases, replacement is safer and less frustrating.
You should strongly consider a new battery when:
- The battery is more than 4–5 years old and shows signs of weakness.
- The battery goes flat again soon after a full charge and normal driving.
- The charger shows an error or refuses to charge even after correct setup.
- The battery case is swollen, cracked, or leaking.
- A workshop or parts store does a load test and says the battery fails.
If you rely on your car for work or long trips, replacing an old, weak battery is often cheaper than dealing with repeated jump starts and tow trucks.
How Energy Storage Fits Into Your Long-Term Plan
More drivers now use solar panels and home batteries to stay powered during blackouts and off-grid trips.
When you have a home energy storage battery with an inverter, you can:
- Use the inverter’s 230 V AC output as the power source for your 12 V smart charger.
- Charge your car battery during a grid outage, as long as the home battery has enough energy.
- Run other important loads at the same time, such as your fridge, lights and internet router.
Avepower does not manufacture car starter batteries. Instead, Avepower focuses on solar energy storage systems for homes and small businesses. These systems:
- Store excess solar power during the day.
- Provide backup power during grid outages.
- Supply clean electricity for chargers, tools and other loads.
If you are thinking about energy independence and resilience, you can talk with your installer or with the Avepower team about sizing a home battery that covers both your household needs and your backup charging plans for vehicles and other gear.

Take Control of Your Energy with Avepower!
Home solar battery that’s quiet, clean, and reliable—seamlessly pairs with solar or the grid for whole-home backup. Avepower right-sizes storage to your loads, solar yield, and future growth.
FAQ
A small, very low battery on a slow charger can take most of a day. With a medium-size charger (4–10 A), many flat batteries need 4–12 hours for a proper recharge. Fast “boost” modes are quicker but harder on the battery.
Yes, but you should drive for at least 20–30 minutes so the alternator can put some charge back into the battery. A full recharge still usually needs a proper charger.
Not always. AGM and EFB batteries often need charging profiles with slightly different voltages. A good smart charger will have specific modes for these battery types. If you use the wrong settings repeatedly, you can shorten the battery’s life.
If you mostly drive short city trips, the alternator may not fully recharge the battery. In that case, you should plan a longer drive once a week or connect a smart maintenance charger overnight every few weeks to keep the battery healthy.
A full charge often takes between 4 and 12 hours with a typical home charger, depending on the battery size and charge rate. A quick “surface” charge that allows the car to start may only take an hour or two, but a deep recharge for a very flat battery usually needs much longer.