
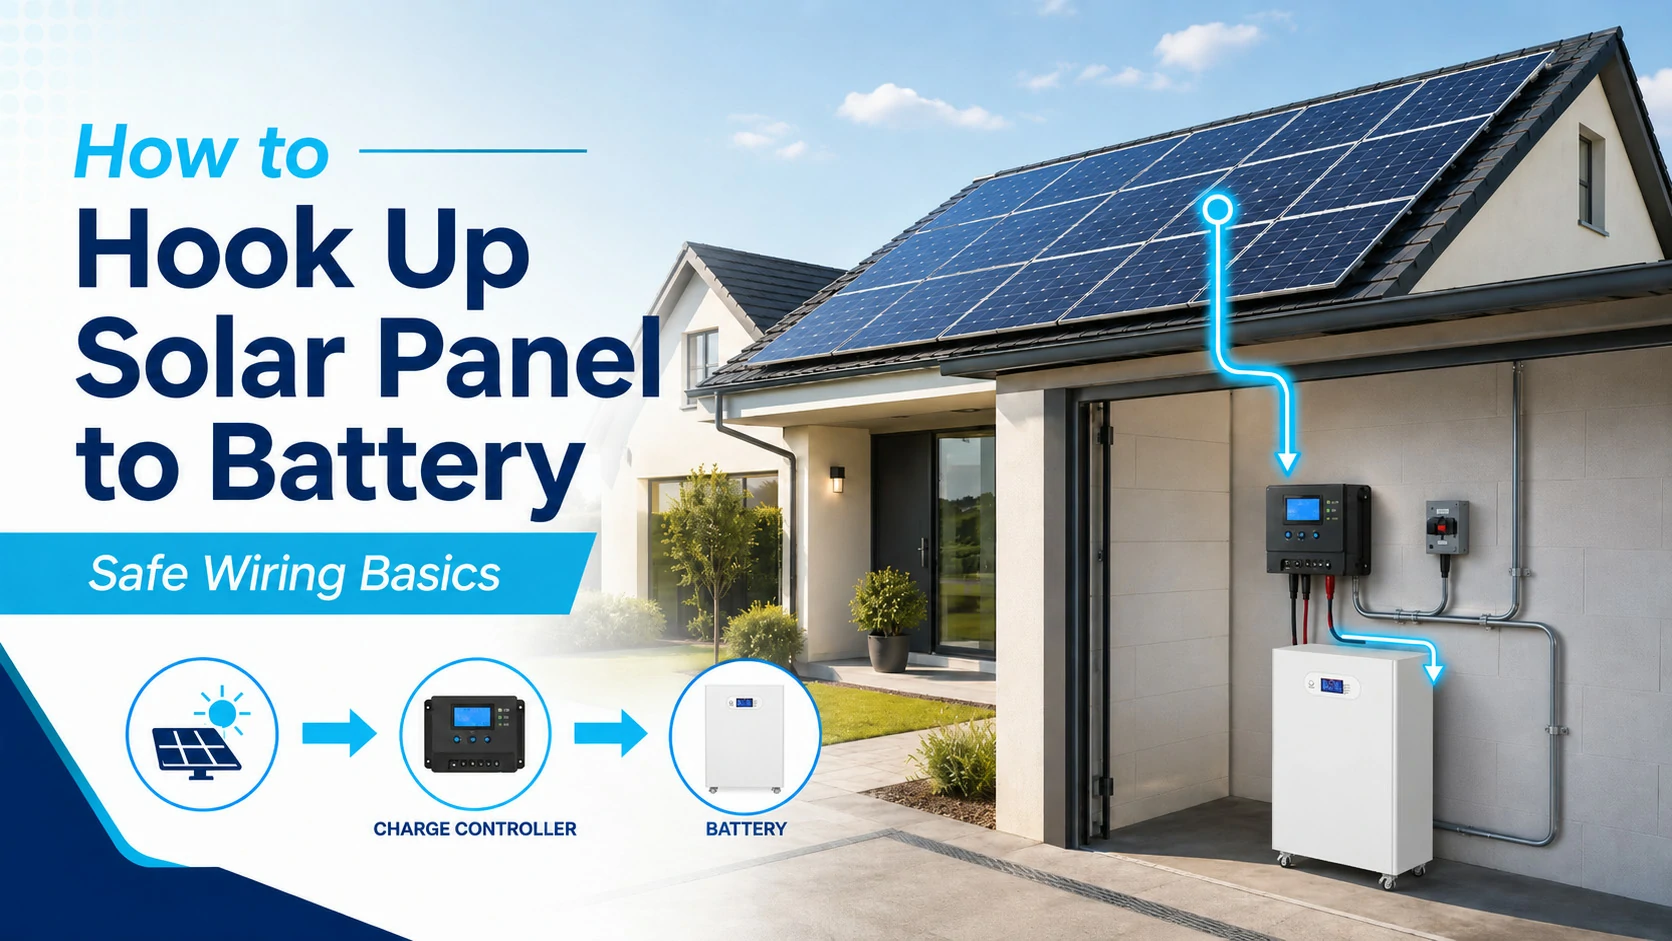
To connect a solar panel to a battery safely, connect the battery to a compatible solar charge controller, confirm the correct battery settings, and then connect the solar panel to the controller’s PV input. A standard solar panel should not normally charge a battery directly. Proper DC protection, cable sizing and polarity checks are also essential.
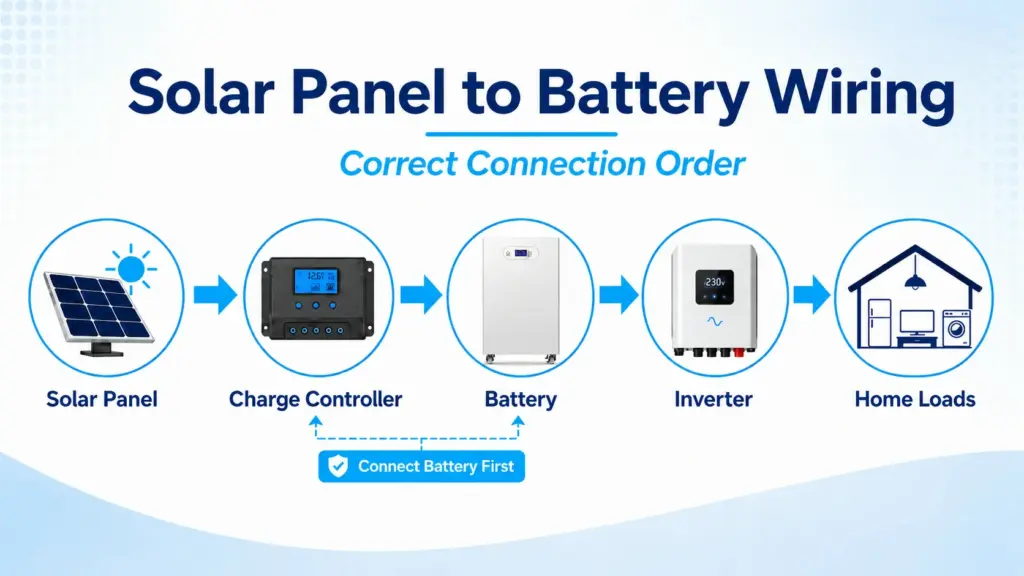
For a basic standalone solar battery system, the normal power path is:
Solar Panel → Charge Controller → Battery → Inverter or DC Loads
This guide explains the complete solar panel-to-battery setup, including the wiring diagram, connection order, charge-controller sizing, a 12V example, fuse and cable selection, series versus parallel panels, common mistakes and troubleshooting.
Quick Answer: How to Connect a Solar Panel to a Battery?
The safest basic method is to route solar power through a compatible charge controller rather than wiring a normal PV module directly to the battery. Connect and configure the battery side first when required by the controller, verify battery voltage and charging settings, and then energize the PV input.
Quick Connection Reference
| Question | Recommended Approach |
|---|---|
| Can a normal solar panel connect directly to a battery? | Normally no |
| What goes between the panel and battery? | Solar charge controller |
| What should usually connect first? | Battery to controller |
| What connects after the battery? | Solar panel/PV input |
| Where does an inverter connect? | Battery side of the system |
| Is an inverter always required? | No, only when AC output is needed |
| What should be checked before wiring? | Voltage, polarity, current limits, cable size and protection |
| Does every controller use exactly the same sequence? | No; follow its installation manual |
The most important principle is simple:
Battery first when required by the controller → Configure the controller → PV second → Verify charging → Connect the inverter if required.
Can You Connect a Solar Panel Directly to a Battery?
No, a standard solar panel should normally not be connected directly to a battery. A solar charge controller regulates the panel’s variable voltage and current according to the battery’s charging requirements. Direct connection is only appropriate when the charging product is specifically designed and regulated for that purpose.
| Setup | Direct Connection? |
|---|---|
| Standard 100W/200W PV panel | No |
| LiFePO4 battery | No |
| AGM/lead-acid battery | Normally no |
| Regulated maintenance/trickle charger | Follow manufacturer specification |
| Hybrid inverter with integrated MPPT | Panel connects to inverter PV input |
What Do You Need to Connect a Solar Panel to a Battery?
| Component | Purpose | What to Check |
|---|---|---|
| Solar Panel | Generates DC power | Voc / Vmp / Isc |
| Charge Controller | Regulates charging | PV voltage/current limits |
| Battery | Stores energy | 12V/24V/48V + chemistry |
| Fuse/Breaker | Cable protection | DC-rated |
| Cable | Carries current | Ampacity + voltage drop |
| Multimeter | Checks polarity/voltage | DC voltage range |
| Inverter | Optional AC power | Match battery voltage |
For small systems, such as a shed, RV, boat, or portable backup setup, this may be a simple 12V battery and one solar panel. For home energy storage, the system may use 24V, 48V, or higher-voltage battery configurations with a hybrid inverter, BMS communication, and more advanced protection.
Avepower usually recommends LiFePO4 batteries for modern solar storage because they offer longer cycle life, better usable capacity, lower maintenance, and stronger long-term value than traditional lead-acid batteries. You can learn more in Avepower’s guide to the best battery storage for solar power.
How to Connect a Solar Panel to a Battery Step by Step
A reliable installation starts by checking component compatibility before making any live connection, then wiring and configuring the battery side before energizing the solar input when required by the controller. The process below applies to a typical standalone controller, but the equipment manuals always take priority.
Step 1 — Check Voltage and Current Compatibility
Before connecting anything, confirm that the solar panel, charge controller, and battery are electrically compatible.
The battery voltage must match the controller’s supported system voltage, such as 12V, 24V, or 48V. The solar panel voltage must stay within the controller’s PV input voltage limit. The controller’s charging current rating must be high enough for the solar array. The controller must also support the battery chemistry, such as LiFePO4, AGM, gel, flooded lead-acid, or other battery types.
For example, if you are using a 12V LiFePO4 battery, the controller should support a lithium charging profile or allow custom voltage settings. If you are using a 48V solar battery system, the controller and inverter must also support 48V operation.
For complete system sizing, including panel wattage, battery capacity, and inverter power, see Avepower’s guide on how to calculate solar panel, battery, and inverter size.
Step 2: Isolate the Solar Panel While Wiring
Keep the PV input isolated while completing battery-side wiring because solar modules can produce voltage whenever they receive sufficient light.
Depending on the installation, isolation may involve an approved PV disconnect, breaker, removable connector or other manufacturer-approved method.
Avoid using improvised methods around high-voltage PV strings. Roof-mounted arrays, grid-connected systems and higher-voltage strings should be handled by appropriately qualified installers according to local requirements.
Step 3: Connect the Battery to the Charge Controller
For many standalone controllers with automatic battery-voltage detection, connect the battery before energizing the PV input so the controller can power up and establish the correct system voltage.
Connect battery positive to the controller’s battery-positive connection and battery negative to battery negative, using correctly sized conductors and manufacturer-approved protection.
After the controller powers on, verify that it recognizes the intended system voltage.
Do not assume every charge controller has the same start-up logic. If its manual gives a different procedure, follow that manual.
Step 4: Configure the Correct Battery Charging Profile
Select charging settings that match the actual battery chemistry before allowing the solar array to begin charging. LiFePO4, AGM, gel and flooded lead-acid batteries do not necessarily use the same charging voltages, stages or temperature-related settings.
For a LiFePO4 battery, use the battery manufacturer’s specified charge-voltage and current limits or a controller preset approved for that battery.
Do not enable lead-acid equalization on a lithium battery unless the battery manufacturer explicitly requires a compatible procedure.
The battery specification—not a generic internet charging table—should determine the final settings.
Step 5: Connect the Solar Panel to the Charge Controller
After the battery side is powered and configured, connect or energize the PV input according to the controller instructions and verify polarity before closing the circuit.
Solar positive connects to PV positive and solar negative to PV negative.
Do not rely only on cable color or connector appearance. Confirm polarity when required with appropriate test equipment.
Once PV power is available, check the charge controller for:
PV voltage → Battery voltage → Charging current → Charging status → Fault indication
The charging current may be low even in bright sunlight if the battery is already near its charge limit or the BMS/controller is intentionally restricting charging.
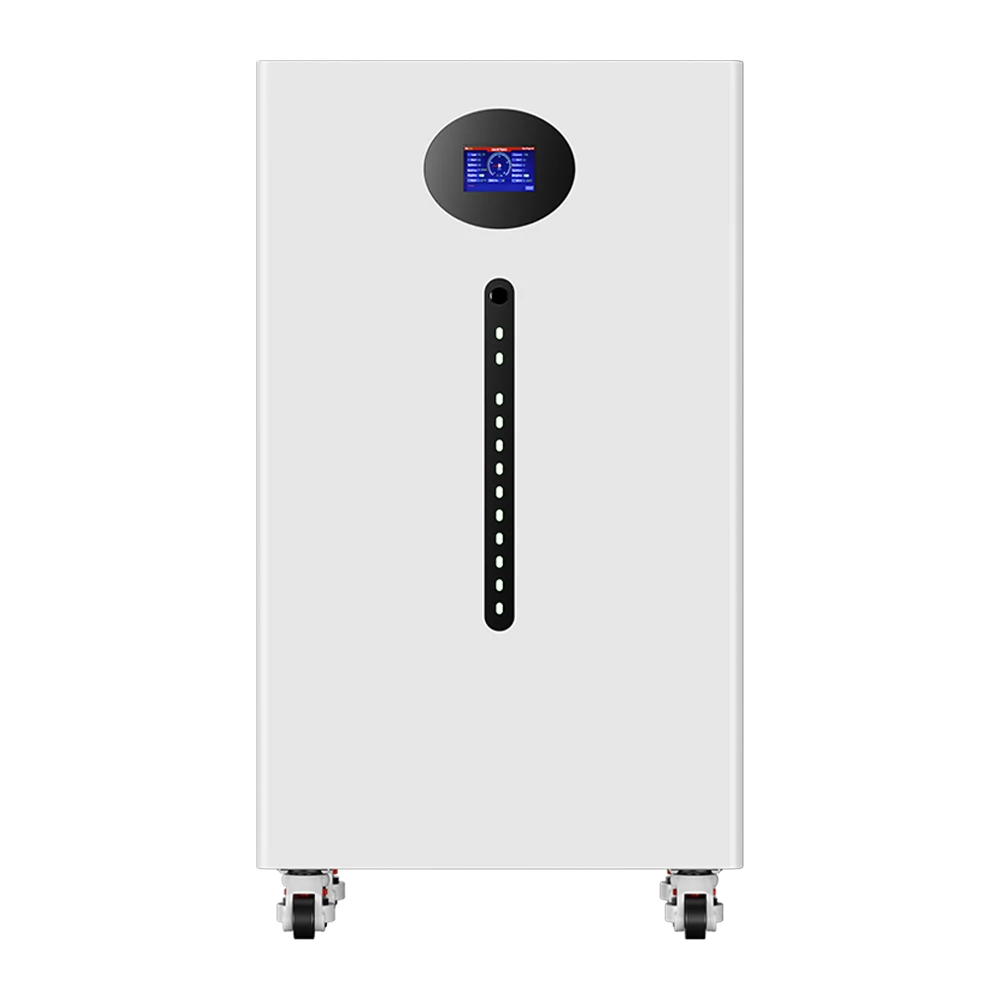
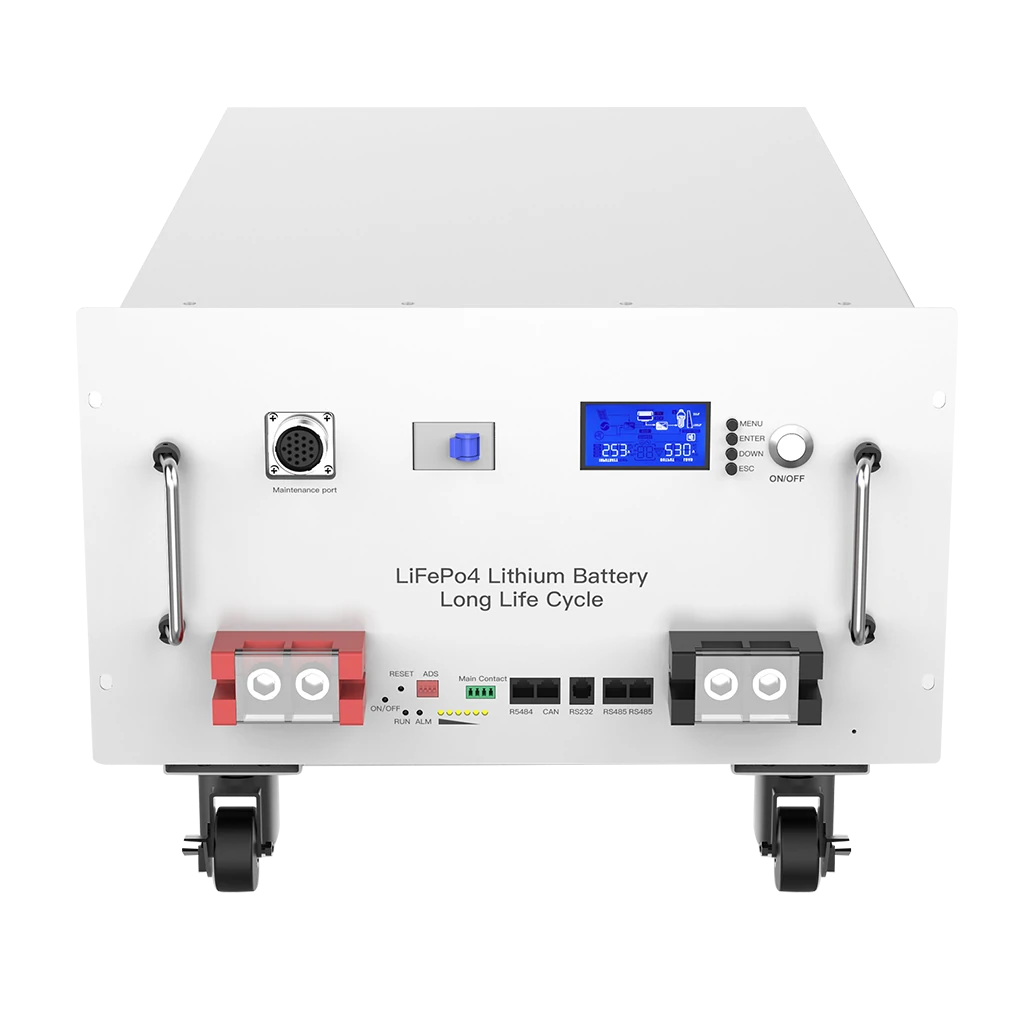
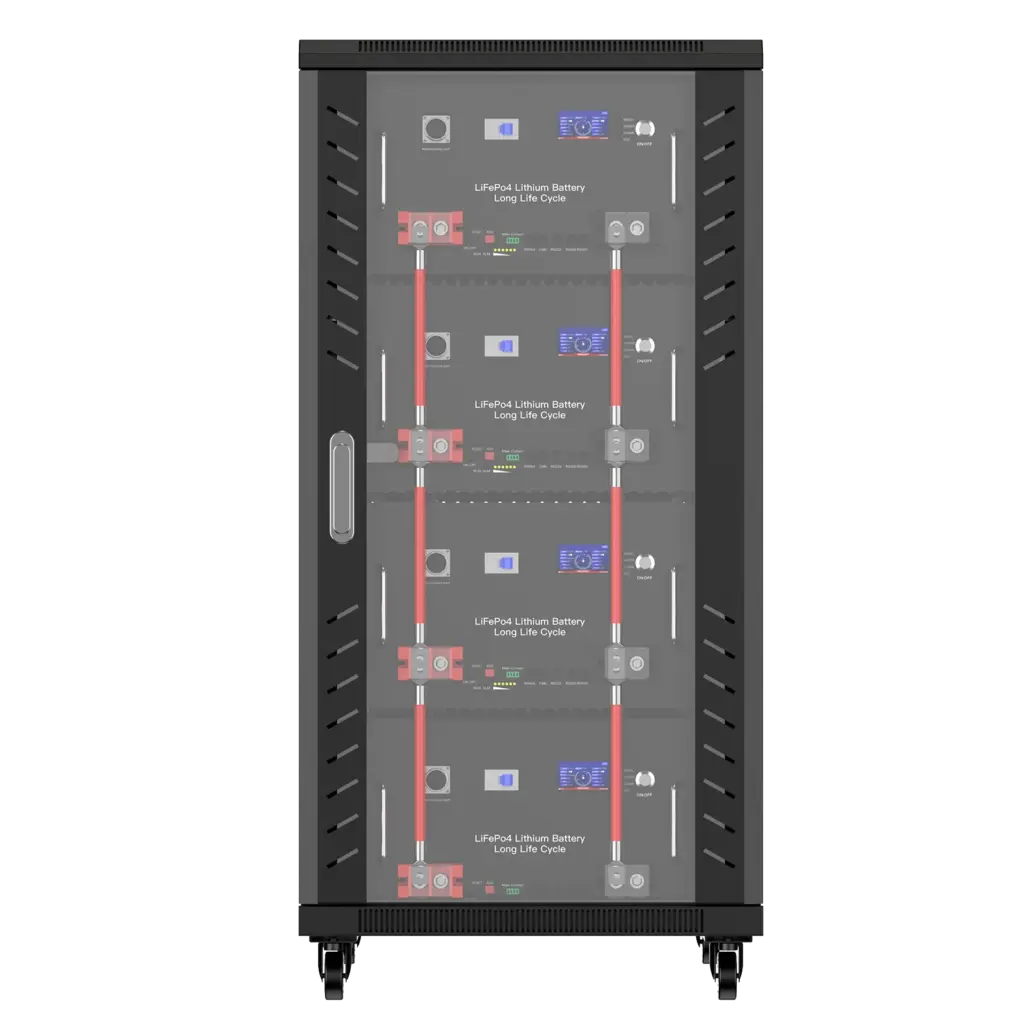
For larger home storage projects, Avepower’s rack mount LiFePO4 battery systems and vertical LiFePO4 battery systems are designed for installer-led solar storage projects where inverter communication, BMS protection, parallel expansion, and clean cabinet installation matter.
Step 6: Verify That the Battery Is Charging Correctly
A successful connection should be confirmed from measured operating data rather than simply assuming the system works because the controller screen turns on.
Check whether the controller reports reasonable PV voltage, battery voltage and charging current. Compare the values with expected sunlight conditions and the battery’s state of charge.
If charging current is zero, check PV isolation, polarity, shading, connectors, controller status and battery/BMS state before changing any settings.
Step 7: Connect the Inverter If AC Power Is Needed
The inverter normally connects to the battery side because it needs a stable DC source capable of supporting its continuous and surge current.
The inverter’s DC voltage must match the battery-bank voltage. A 12V inverter belongs on a 12V battery bank; a 48V inverter must be used with a compatible 48V system.
Large inverters can draw substantial DC current, so their conductors and overcurrent protection must be designed independently from the smaller controller-to-battery wiring.
Do not connect a high-power inverter to small “load” terminals on a charge controller unless the controller manufacturer explicitly rates those terminals for the intended load.
Step 8: Know How to Shut the System Down
Do not assume the correct start-up sequence can simply be reversed for every system because shutdown requirements depend on the charge controller, inverter and protection architecture.
A typical service procedure isolates the PV source before removing the controller’s battery supply, but the equipment manufacturer’s shutdown sequence should always control.
For hybrid inverters and larger home-storage systems, use the complete commissioning and shutdown procedure specified by the inverter and battery manufacturers.
Need Help Matching a Battery and Inverter?
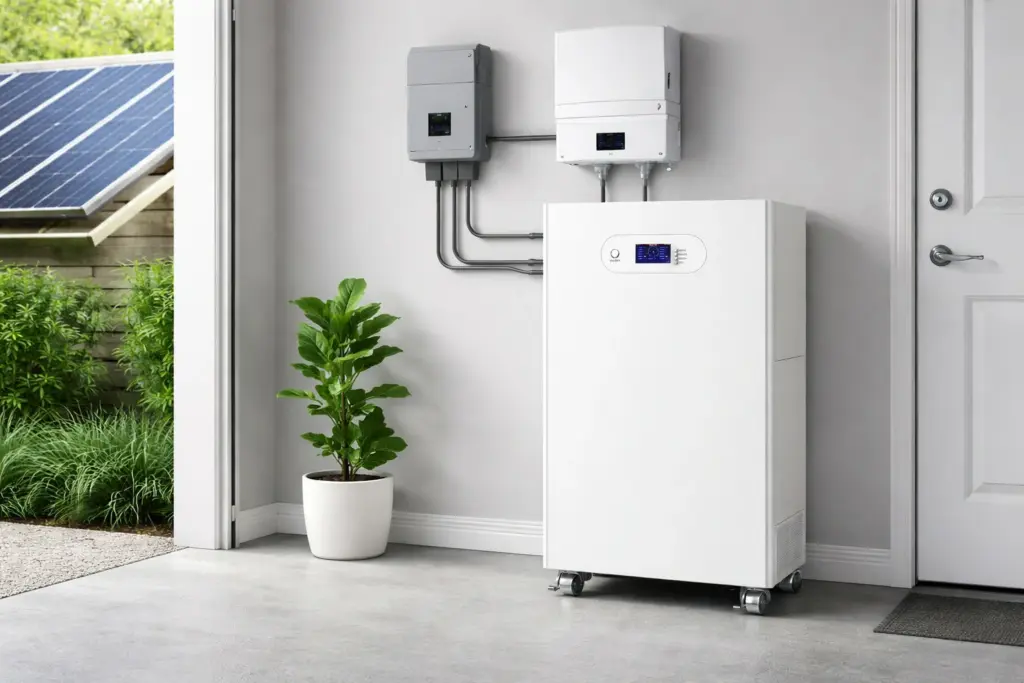
For larger 24V, 48V or high-voltage storage projects, battery compatibility involves more than terminal voltage. Avepower’s engineering team supports battery capacity, BMS current, CAN/RS485 communication and inverter matching for installers, distributors and project developers. Avepower currently lists a 50+ R&D/engineering team supporting energy-storage development and integration.
How to Connect a Solar Panel to a 12V Battery: Example
A 12V solar battery system still needs a compatible charge controller because the panel’s actual operating and open-circuit voltages are not the same as the battery’s nominal 12V label. The controller must satisfy both the PV-side limits and the battery’s permitted charging conditions.
| Component | Example |
|---|---|
| Solar panel | 200W |
| Battery | 12V 100Ah LiFePO4 |
| Controller | MPPT supporting LiFePO4 |
| Approx. nominal charging current | 200W ÷ 12V ≈ 16.7A before losses/limits |
This is a simplified sizing example, not a universal controller recommendation. The actual controller must be selected according to maximum PV open-circuit voltage, array current, battery charging limits, temperature conditions and the manufacturer’s specifications.
MPPT vs PWM: Which Is Better?
MPPT is generally preferred when the PV array operates at a substantially higher voltage than the battery, when system power is larger, or when maximizing available solar energy is important. PWM can still be suitable for smaller systems where the panel and battery charging voltage are deliberately matched.
| Feature | PWM | MPPT |
|---|---|---|
| Design complexity | Lower | Higher |
| Cost | Usually lower | Usually higher |
| Higher PV voltage relative to battery | Limited flexibility | Better suited |
| Larger systems | Less common | Common |
| Small simple systems | Can be suitable | Also suitable |
| 24V/48V storage | Application-dependent | Common choice |
Do not choose MPPT only because the label sounds more advanced. Confirm the actual input-voltage range, power limit, charge current and battery compatibility.
Should Solar Panels Be Connected in Series or Parallel?
Series wiring increases array voltage while parallel wiring increases array current, so the better choice depends mainly on the controller’s PV input window, array size, cable run, module characteristics and shading conditions.
| Wiring Method | Voltage | Current | Main Design Concern |
|---|---|---|---|
| Series | Adds | Roughly unchanged for matched modules | Maximum PV/Voc limit |
| Parallel | Roughly unchanged | Adds | Higher current and conductor/protection sizing |
| Series-parallel | Both can increase | Both can increase | Full string/array design |
Series Solar Panels
When panels are connected in series, their voltages add. This can reduce current for a given array power and is commonly used with MPPT controllers.
However, the array’s cold-condition open-circuit voltage must remain below the controller’s maximum PV input voltage.
Parallel Solar Panels
When matched panels are connected in parallel, voltage remains approximately the same while branch currents combine.
Higher array current can require larger conductors, suitable connectors, combiner equipment and branch protection depending on the number of strings and installation design.
For multiple panels, calculate the actual array rather than assuming “series is better” or “parallel is safer.”
What Wire Size Do You Need for a Solar Panel to Battery Connection?
Wire size depends on current, conductor length, acceptable voltage drop, conductor temperature rating, installation conditions and the applicable electrical standard. There is no single AWG or mm² size that is correct for every 100W, 200W or 400W solar battery system.
Which Battery Type Works Best With Solar Panels?
The best battery depends on budget, application, operating temperature, expected cycling and charging equipment, but LiFePO4 is widely used in modern solar-storage systems because it supports deep cycling, integrated BMS protection and relatively high usable capacity.
Lead-acid batteries can still be appropriate where low purchase cost is the main consideration, but their charging profile and operating limits differ from lithium batteries.
| Battery Type | Main Advantage | Main Limitation | Typical Solar Use |
|---|---|---|---|
| Flooded lead-acid | Low initial cost | Maintenance and ventilation | Traditional off-grid |
| AGM | Sealed and familiar | Lower usable cycling than LFP in many applications | RV/backup |
| Gel | Sealed design | Sensitive charging requirements | Specialized systems |
| LiFePO4 | Deep cycling and BMS integration | Higher initial cost | Modern solar storage |
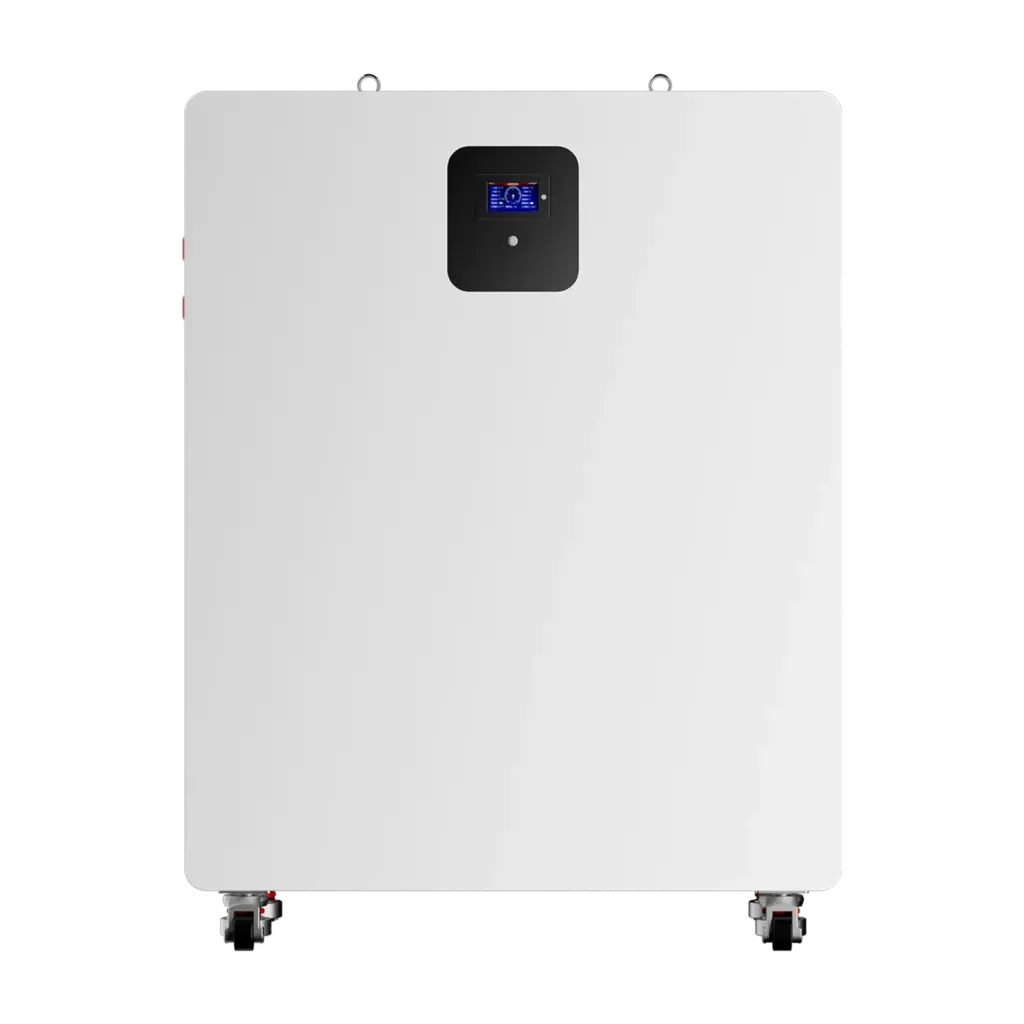
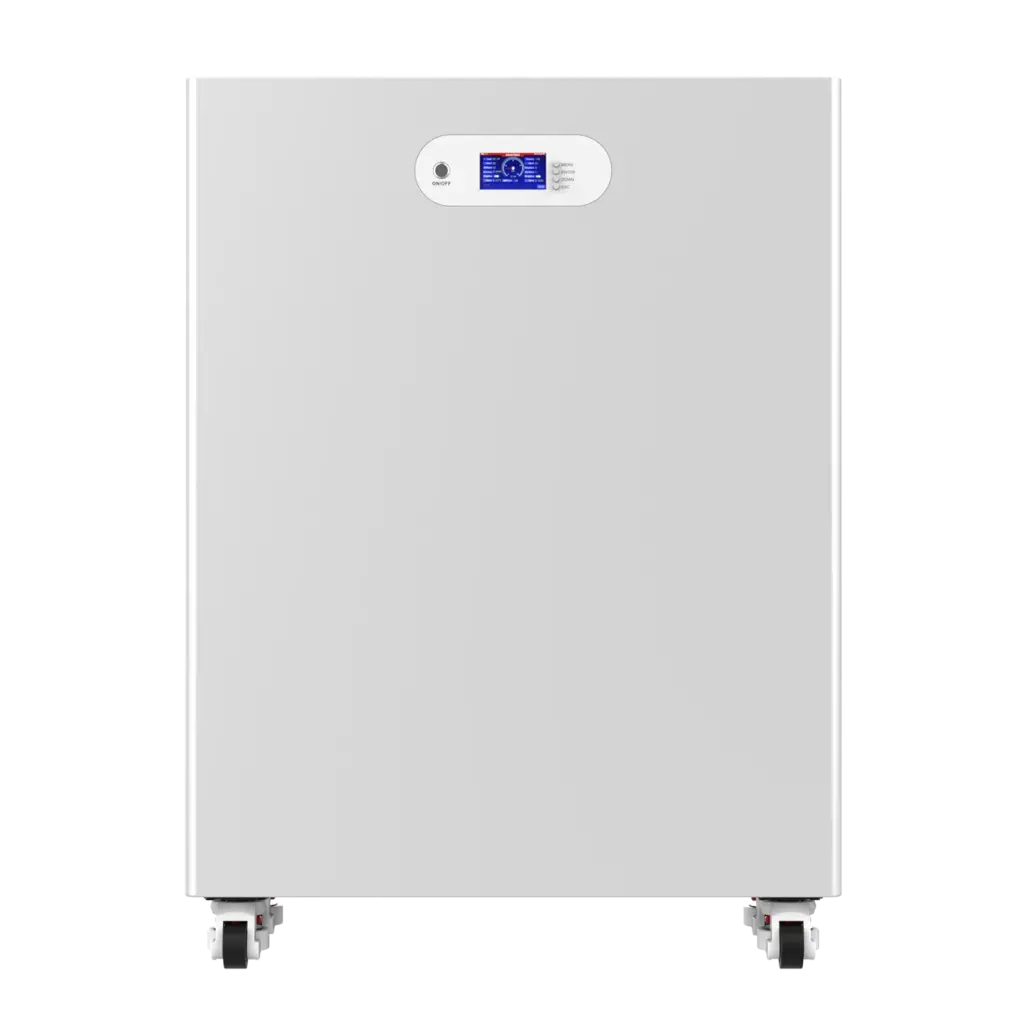
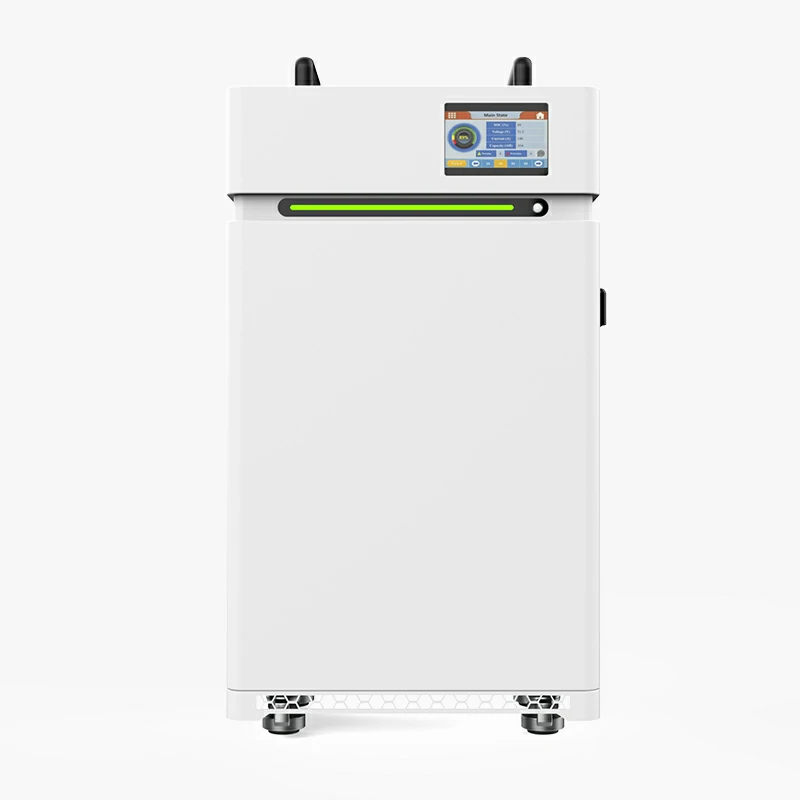
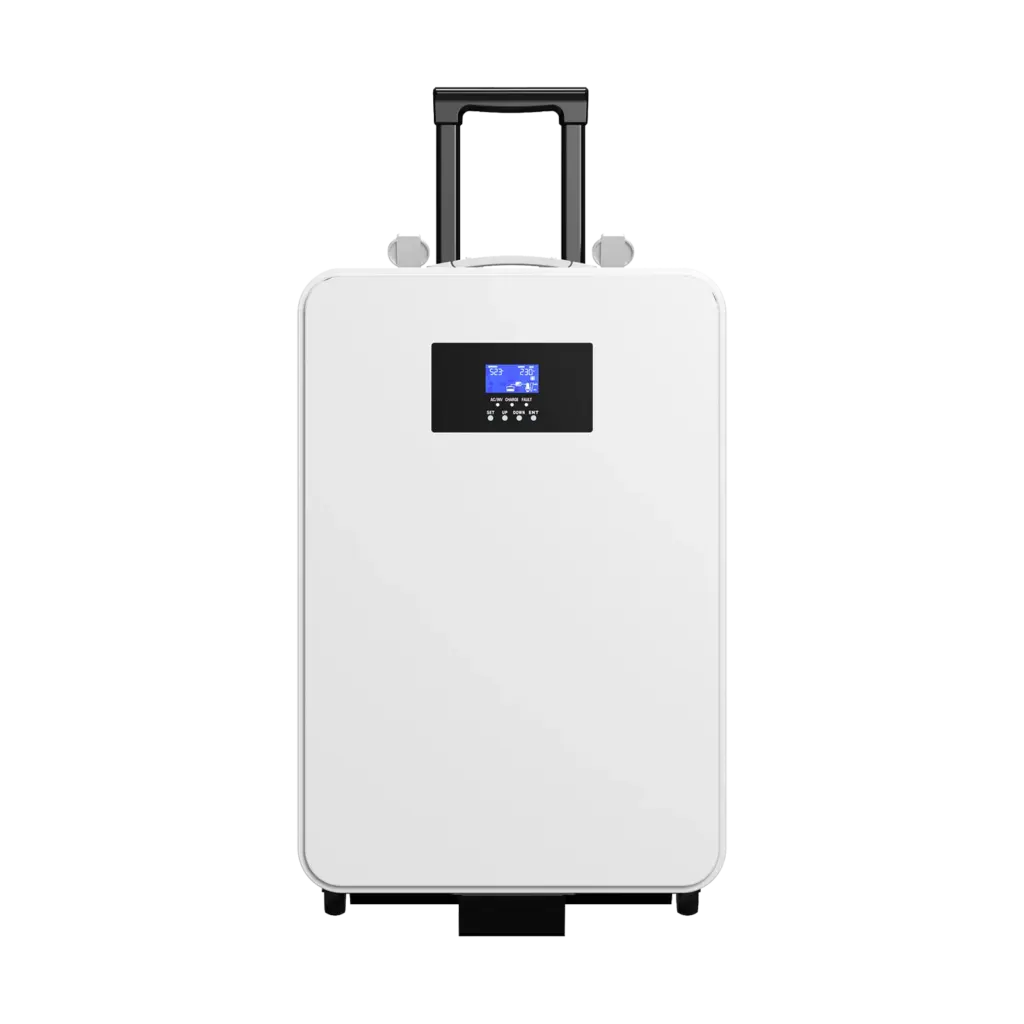
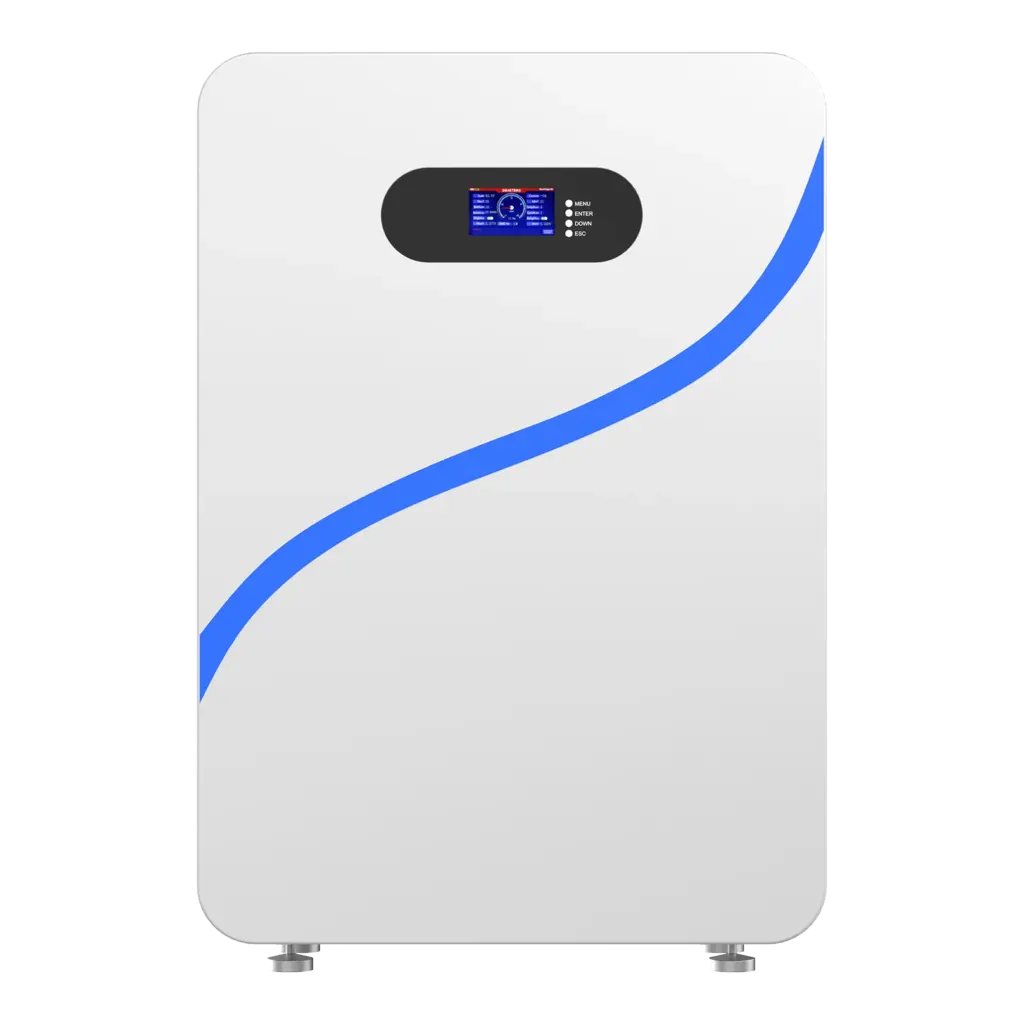
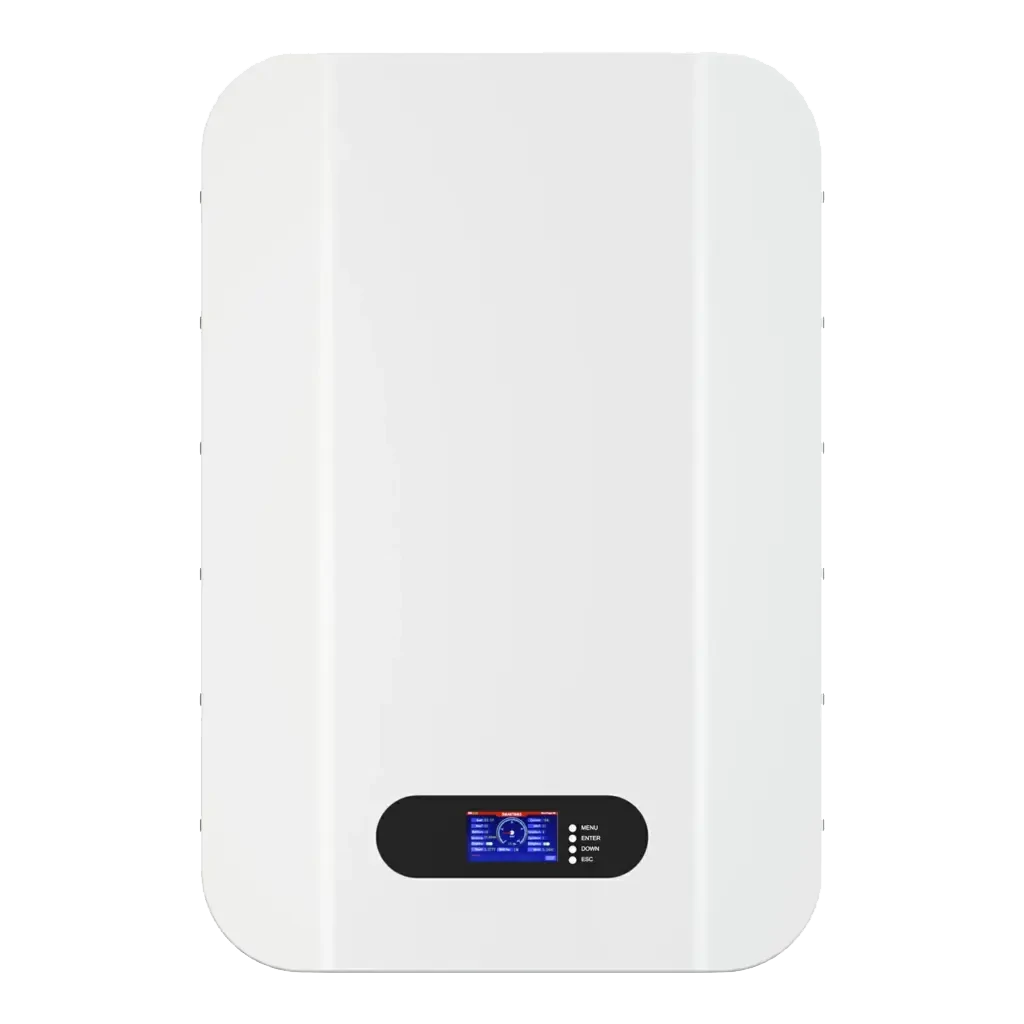
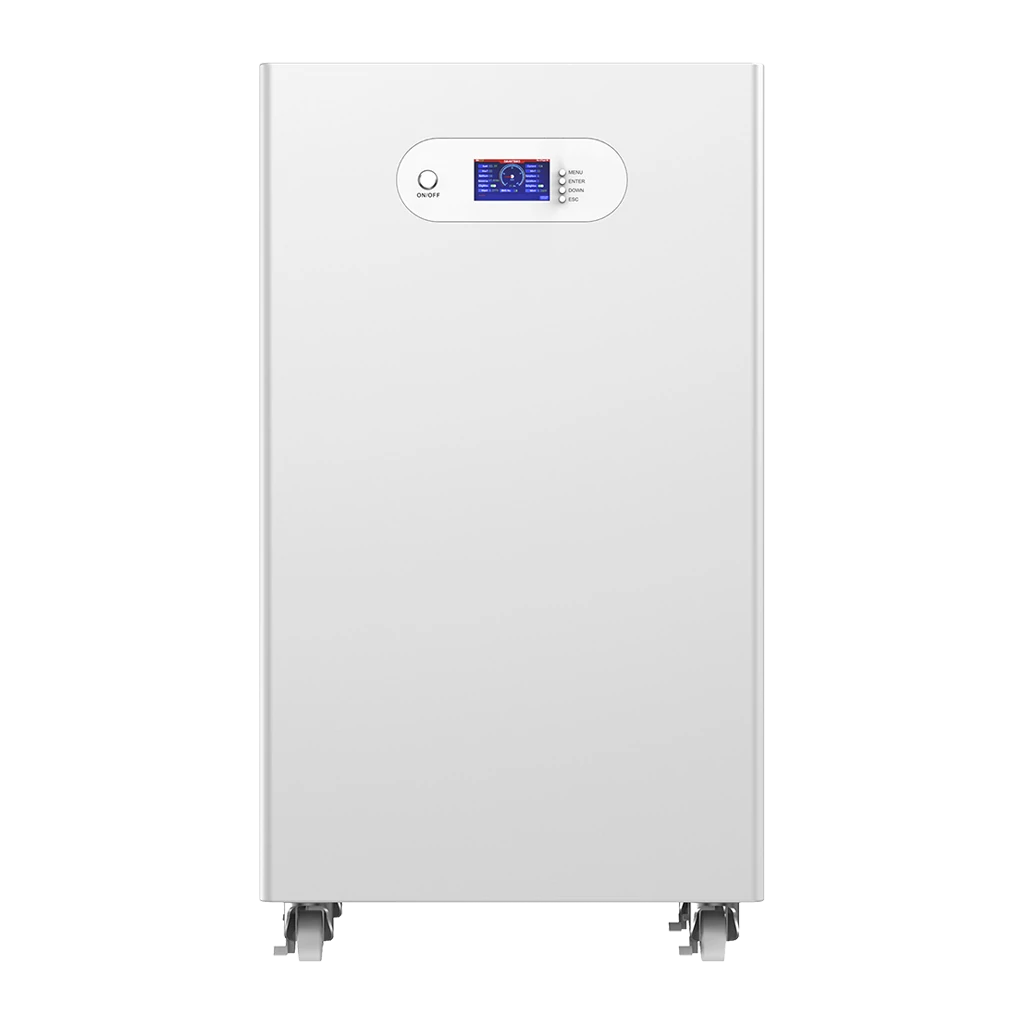
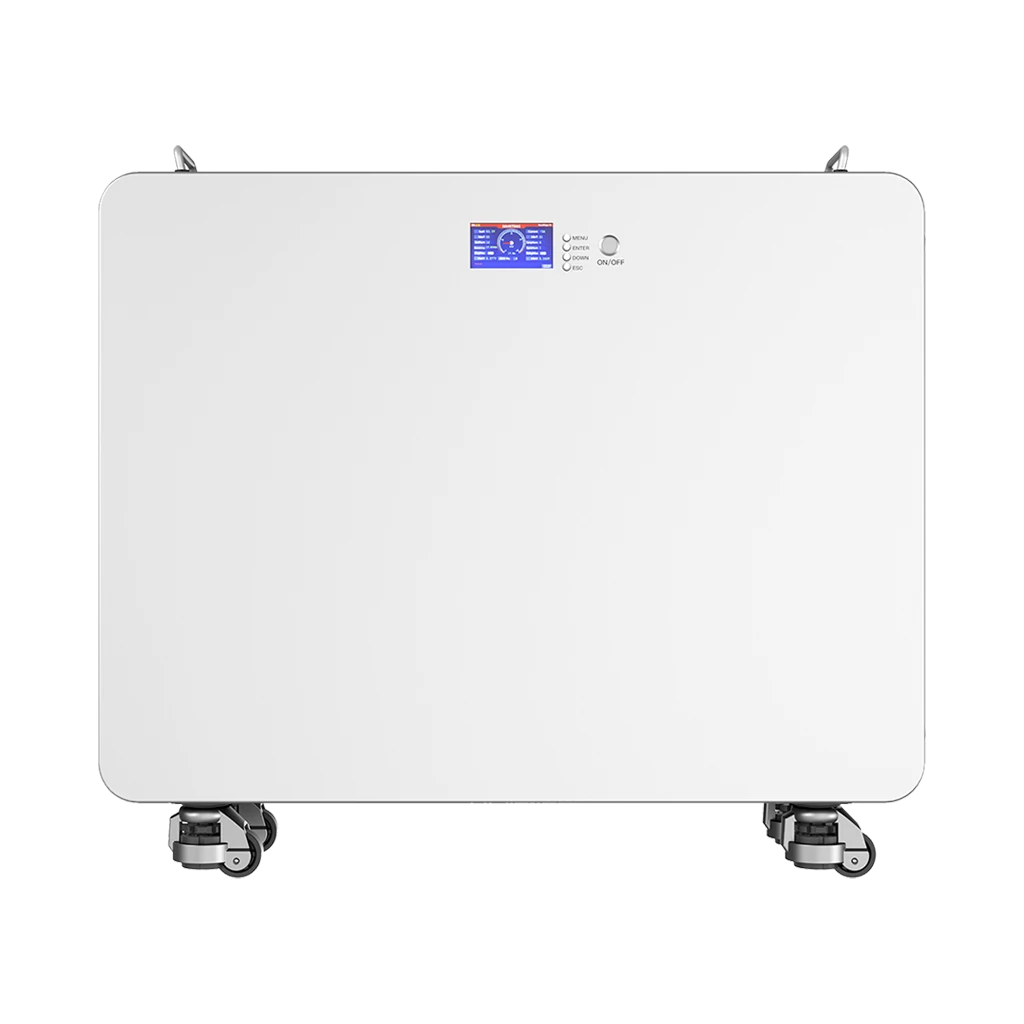
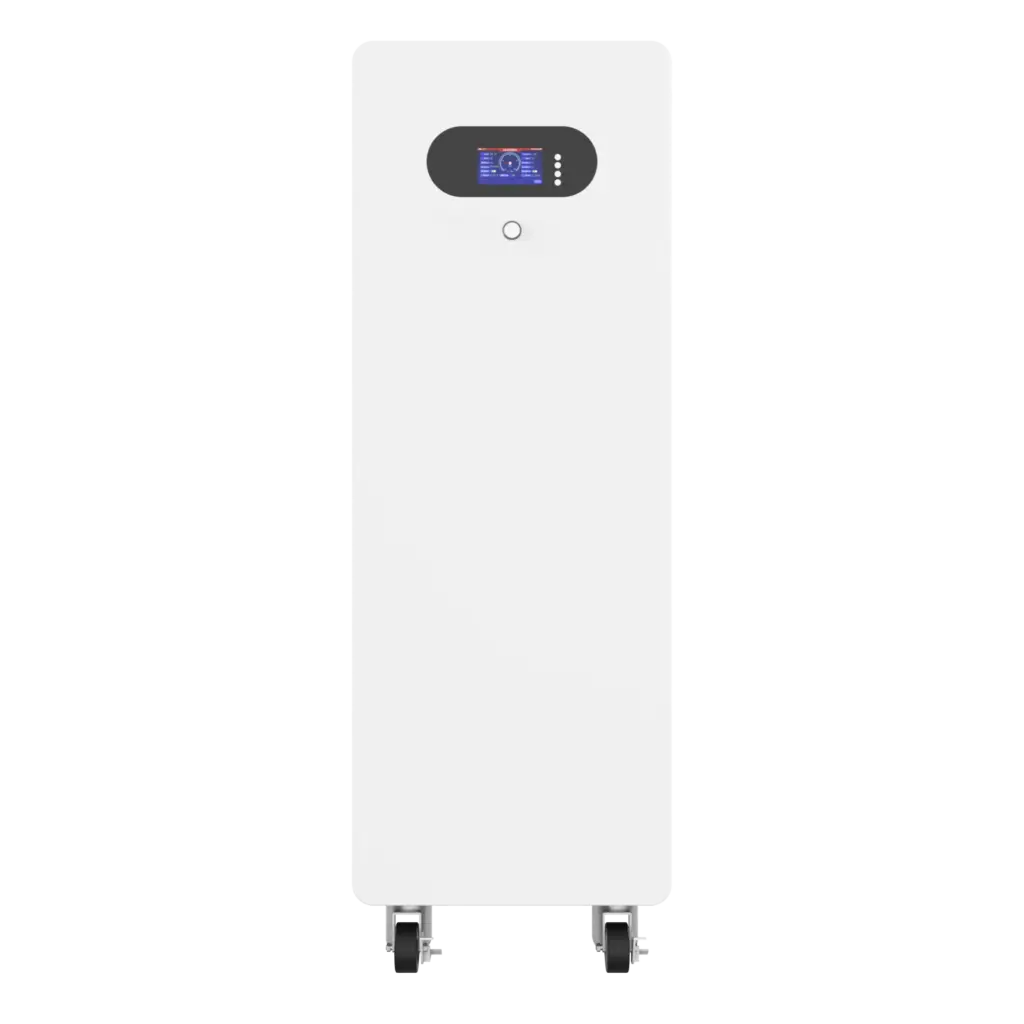
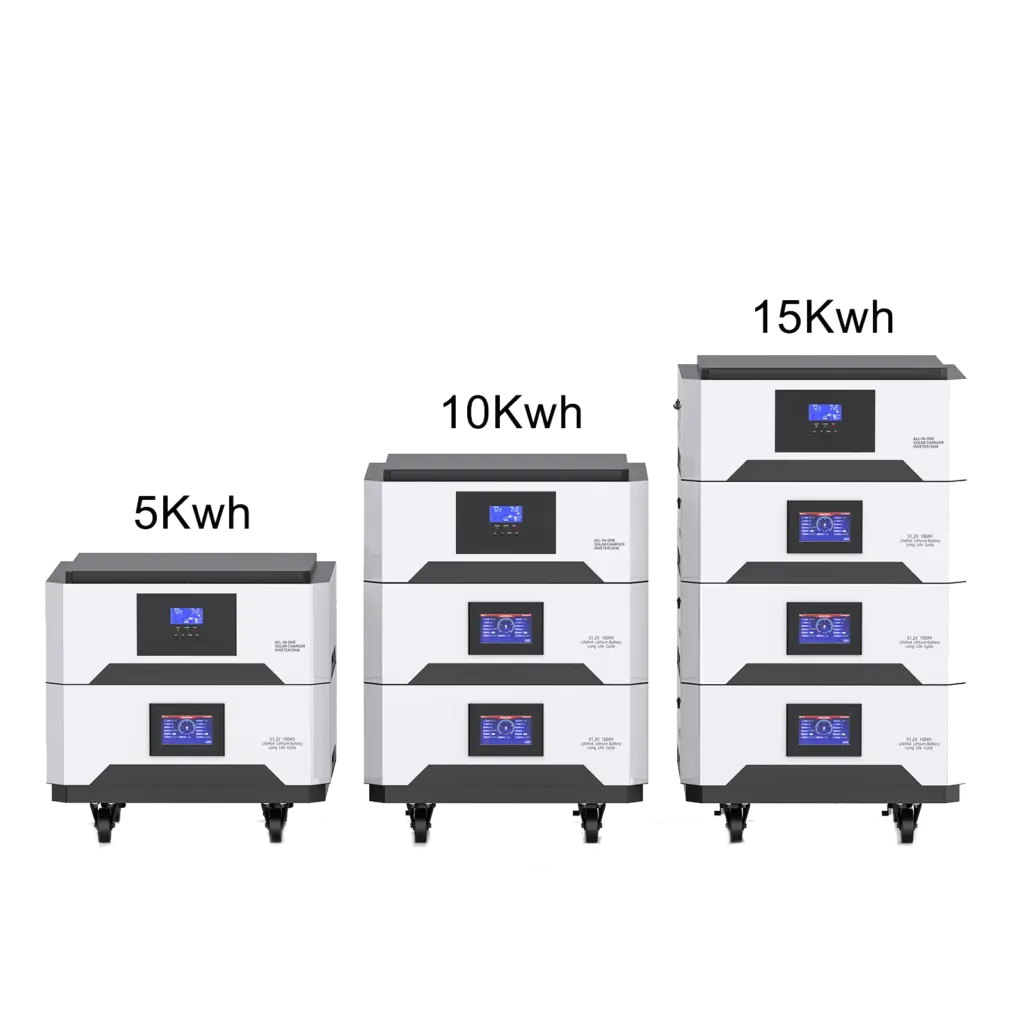
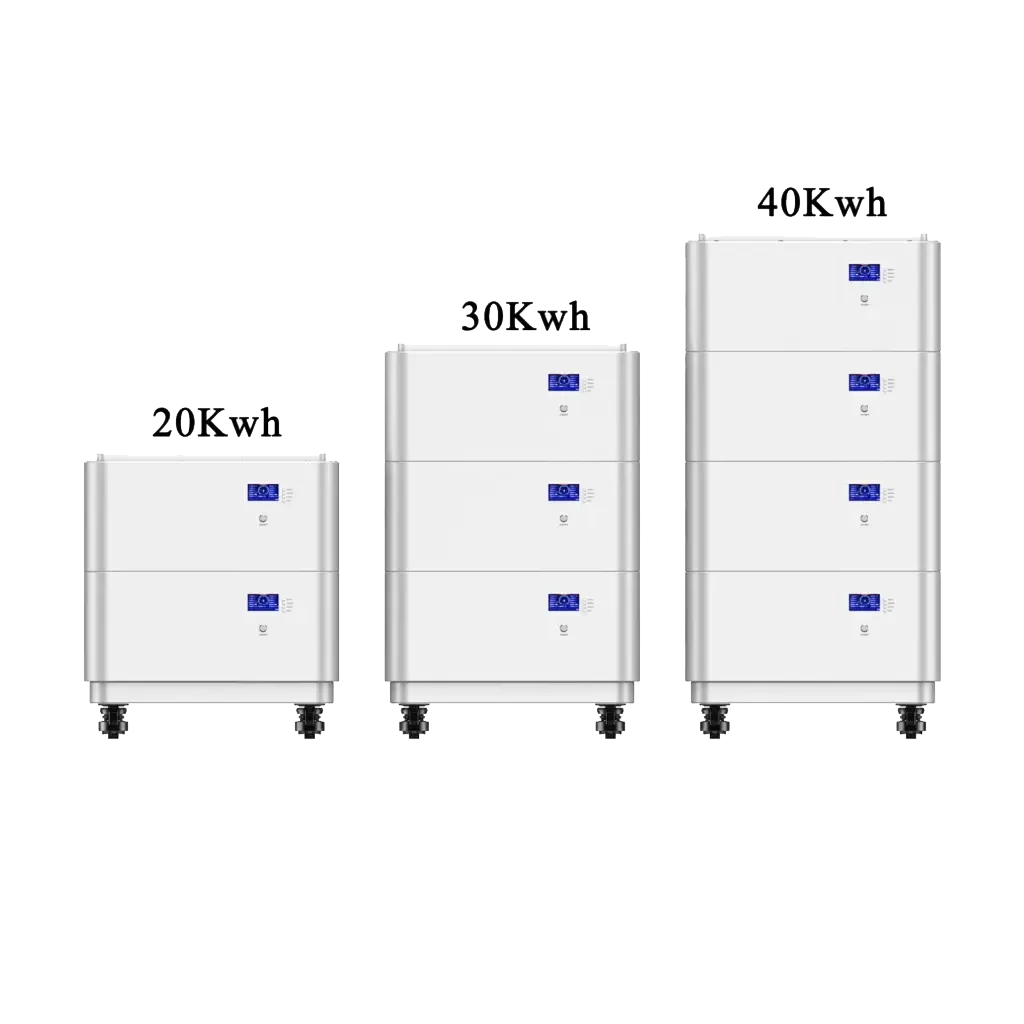
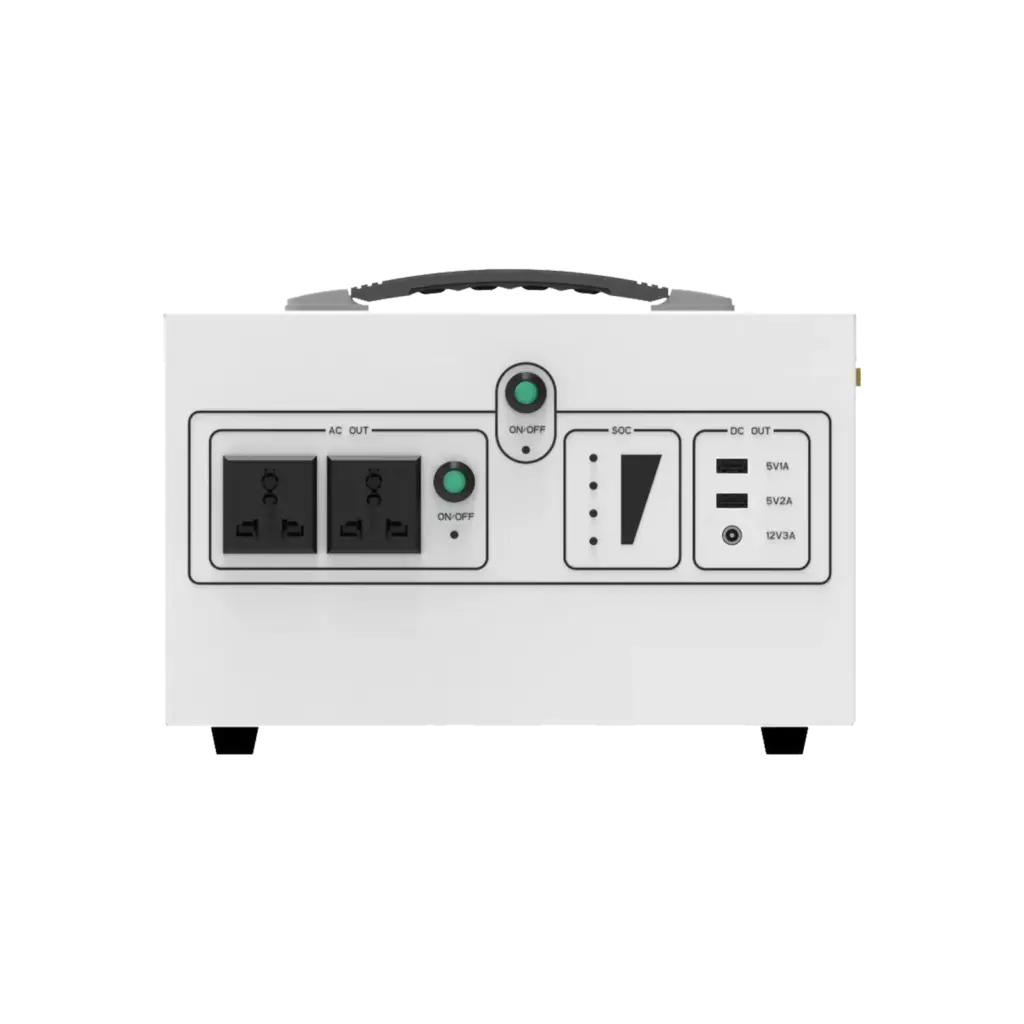
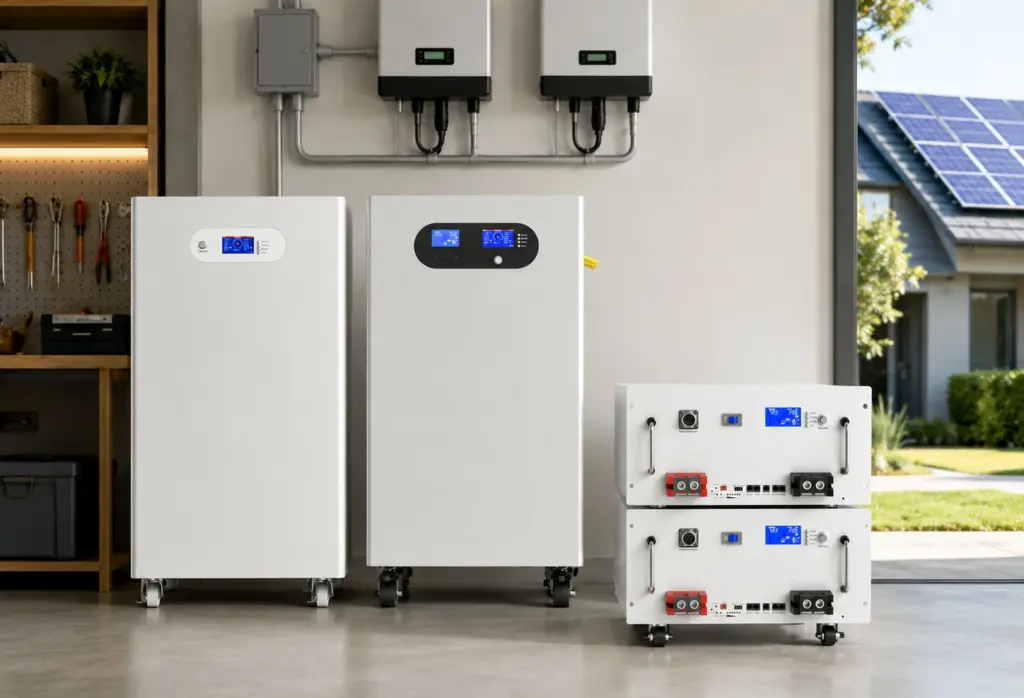
Avepower provides a range of LiFePO4 solar battery solutions, including wall-mounted batteries, rack-mounted batteries, vertical batteries, stackable batteries, and all-in-one battery systems. For projects that need flexible capacity, cleaner installation, and long-term reliability, these solutions can be adapted to different solar storage scenarios.
For example, if the application requires easier installation and simplified system design, an all-in-one battery system can combine the battery, inverter, and energy management functions in a more integrated format. For projects that need modular expansion, stackable or rack-mounted batteries may offer more flexibility.
Take Control of Your Energy with Avepower!
Reliable home solar battery solutions with OEM/ODM customization and in-house manufacturing, tailored to the needs of distributors, installers, and energy partners.
Safety Tips for Hooking Up Solar Panels to Batteries
Solar battery systems are not overly complicated, but they do involve live electricity. Follow these basic safety rules:
- Turn off or isolate equipment before wiring
- Double-check polarity with a multimeter
- Use correctly sized cables and terminals
- Install fuses or breakers where needed
- Keep all connections tight and clean
- Follow the manuals for the battery, controller, and inverter
- Ask a qualified installer for help if the system is large or complex
For larger residential or commercial projects, using batteries with an intelligent BMS can add another layer of protection by helping manage overcharge, over-discharge, temperature, and overall battery health.
Avepower’s LiFePO4 battery solutions are designed with smart BMS protection and can support different communication and integration requirements, making them suitable for more advanced energy storage installations as well as OEM and ODM projects.
Common Mistakes to Avoid
Even a simple solar battery setup can fail if the wiring is done incorrectly. Here are some of the most common mistakes:
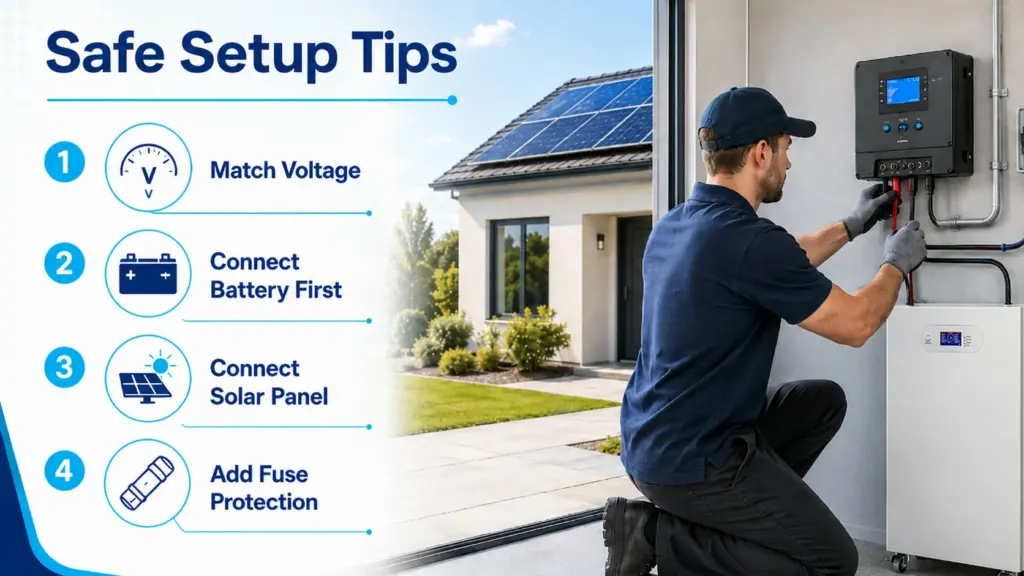
- Connecting the solar panel before the battery: This can prevent the controller from starting correctly or identifying system voltage properly.
- Skipping the charge controller: Without a controller, battery charging is usually unsafe and poorly regulated.
- Reversing polarity: Positive and negative connections must match exactly. Reversed polarity can damage equipment quickly.
- Using undersized cables: Thin cables can cause voltage drop, heat buildup, and power loss, especially between the battery and inverter.
- Ignoring fuse or breaker protection: Proper overcurrent protection helps reduce the risk of wiring damage and equipment failure.
- Using the wrong battery settings: LiFePO4 and lead-acid batteries need different charging parameters. Always use the correct controller settings for your battery type.
Troubleshooting: Why Is My Solar Panel Not Charging the Battery?
- If the controller does not turn on, check the battery voltage, battery fuse, cable polarity, and terminal tightness. A deeply discharged battery may be too low for some controllers to recognize.
- If the controller turns on but shows no solar input, check whether the panel is covered, shaded, disconnected, or wired with reversed polarity. Also check the PV fuse, breaker, MC4 connectors, and solar panel open-circuit voltage.
- If the battery charges slowly, the issue may be shading, poor panel angle, low sunlight, undersized panel wattage, cable voltage drop, a low-quality controller, or a battery that is already near full.
- If the fuse trips repeatedly, do not simply replace it with a larger fuse. Find the cause first. The wire size, controller current, short circuit, inverter surge, or incorrect protection rating may be the real problem.
- If a LiFePO4 battery suddenly stops charging or discharging, the BMS may have entered protection mode because of high voltage, low voltage, overcurrent, short circuit, or temperature limits.
When Should You Call a Professional Installer?
Professional installation is strongly recommended once the project moves beyond a small isolated low-voltage system and involves building wiring, high-voltage PV, large inverters, multiple batteries, grid interconnection or whole-home backup.
A DIY user may understand how a single low-voltage panel, controller and battery are connected, but that does not automatically make a residential ESS installation suitable for DIY work.
For code and safety references, consult your local authority having jurisdiction and resources such as NFPA codes and standards, equipment manuals, and licensed electrical professionals.
Need a Solar Battery Solution for a Larger Project?
A small 12V solar charging system may only need one battery and a standalone controller. Residential backup, off-grid homes and light-commercial projects normally require more detailed battery, inverter and communication matching.
Avepower provides LiFePO4 energy-storage solutions for solar installers, distributors, project developers and OEM/ODM partners, with support for battery capacity, BMS configuration, inverter communication and system integration. Its official manufacturing information lists a 20,000+ m² production base, 15+ production lines and 50+ R&D and engineering staff.
Tell Us Your Inverter Model, Required Capacity and Application to Get a Project-Matched Battery Solution.
Final Thoughts
If you are searching for how to hook up a solar panel to a battery, the most important thing to remember is that a proper system is not just about making the wires fit. It is about using the right charging path, the right battery, and the right protection devices so the system works safely and efficiently over time.
For small DIY systems, this may mean a single panel, a controller, and one battery. For larger residential or installer-focused projects, it may mean choosing a modular LiFePO4 battery solution that fits the required capacity, inverter setup, and installation style.
If you are comparing battery options for solar storage, Avepower offers a full range of home energy storage batteries, including wall-mounted, rack-mounted, vertical, stackable, and all-in-one models to support different project needs. The right battery solution depends on your voltage, load profile, backup goals, and installation environment.
A well-designed solar battery system starts with correct wiring, but its long-term value comes from choosing components that are built to work together.
FAQ
In most cases, no. A solar panel should usually connect to a battery through a solar charge controller. The controller regulates voltage and current to reduce the risk of overcharging, overheating, and battery damage.
The usual order is battery to charge controller first, then solar panel to charge controller. If you need AC power, connect the inverter to the battery after the battery and controller are properly installed.
Many charge controllers use the battery connection to detect system voltage and power their internal control circuit. Connecting the battery first helps the controller regulate solar charging correctly.
Yes, in most practical systems. Even a 12V solar panel can produce voltage higher than the battery’s safe charging range. A controller helps protect the battery and manage the charging process.
No. The inverter should not be installed between the solar panel and the battery. The normal path is solar panel to charge controller, charge controller to battery, and battery to inverter.
The controller should match the battery voltage, support the solar array input voltage, and handle the expected charging current. For example, a larger solar array or 48V battery system usually requires a properly rated MPPT controller.
MPPT is usually better for larger systems, higher-voltage solar arrays, 24V or 48V batteries, and installations where efficiency matters. PWM can work for small, low-cost systems when the panel and battery voltage are closely matched.
LiFePO4 is a strong choice for many modern solar storage systems because it offers long cycle life, deep usable capacity, stable performance, and low maintenance. Lead-acid batteries can still work in budget systems but usually have shorter life and lower usable capacity.
A fuse or DC breaker should generally be installed on the positive cable between the battery and charge controller, close to the battery. Larger systems may also need PV-side protection, inverter-side protection, disconnects, and combiner boxes depending on the design.
Common reasons include reversed polarity, low sunlight, shading, loose connectors, blown fuse, open breaker, incorrect controller settings, battery already full, or battery BMS protection. Start by checking voltage, polarity, fuses, controller display, and battery status.