
Wiring a 24V battery into an electric scooter can feel scary at first. Every wire carries energy, and every mistake can damage parts or even start a fire. However, you can wire a 24V system safely if you follow a clear process, use the right tools, and respect basic rules.
This guide provides a detailed, step-by-step walkthrough, helping you understand the system, gather the necessary materials, and safely connect your battery system. If you are not comfortable working with battery wiring, ask a qualified technician to complete the installation. Lithium battery packs should not be opened, modified or rebuilt by unqualified users.
Quick Answer: How Do You Wire a 24V Battery for an Electric Scooter?
To wire a 24V battery for an electric scooter, you normally use one of two setups:
- One ready-made 24V battery pack
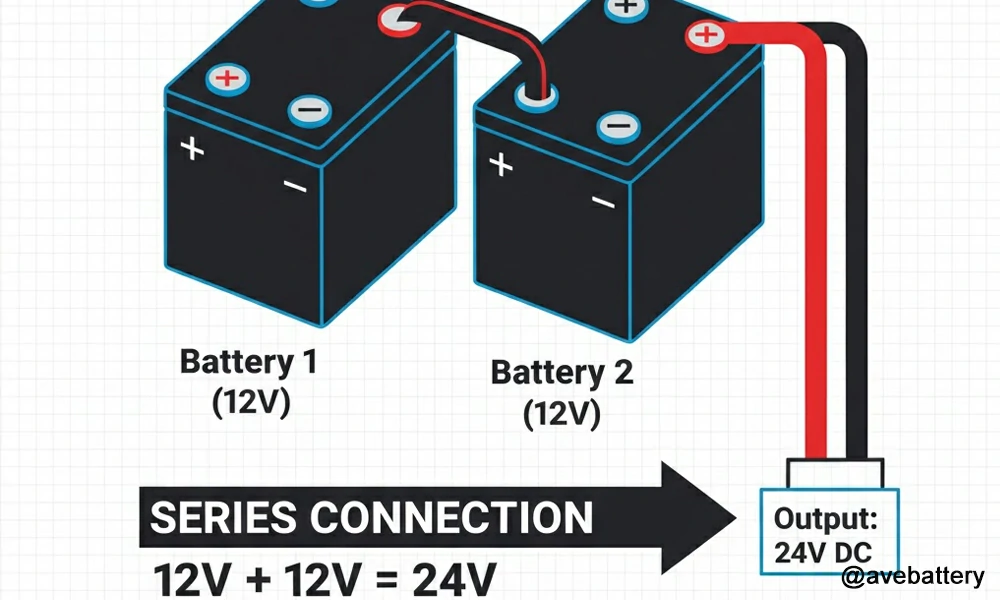
Connect the battery positive lead to the controller positive input and the battery negative lead to the controller negative input, usually through a fuse and main switch. - Two 12V batteries wired in series
Connect the positive terminal of Battery 1 to the negative terminal of Battery 2. The remaining free negative terminal and free positive terminal become the 24V output. Then connect those output terminals to the scooter controller through a correctly rated fuse.
The most important rule is this: series wiring increases voltage, while parallel wiring increases capacity. If your scooter needs 24V and you wire two 12V batteries in parallel, the system will still be 12V, not 24V.
For a deeper explanation of voltage and capacity behavior, you can also read Avepower’s guide on batteries in series vs parallel.
Before You Start: Understand What a 24V Scooter System Includes
A 24V electric scooter system is not just a battery. It is a small electrical powertrain.
A typical system includes:
| Part | Function |
|---|---|
| Battery pack | Stores energy and supplies DC power |
| BMS | Protects lithium cells from overcharge, over-discharge, overcurrent and short circuit |
| Fuse or breaker | Opens the circuit if current becomes unsafe |
| Controller | Regulates power from the battery to the motor |
| Motor | Converts electrical power into wheel movement |
| Throttle | Sends speed demand signal to the controller |
| Charger | Recharges the battery using the correct voltage and charging profile |
| Connectors and wires | Carry current between all main parts |
The battery must match the controller voltage. A 24V controller is designed for a 24V battery system. Using a higher-voltage pack can destroy the controller. Using a lower-voltage pack can cause poor performance or low-voltage cutoff.
Safety First: Do Not Treat Scooter Battery Wiring as a Small Toy Project
Electric scooter batteries are compact, but they can deliver high current. A short circuit across a 24V lithium pack can generate heat very quickly.
The U.S. Consumer Product Safety Commission advises users to follow manufacturer charging instructions, use only recommended chargers and avoid modified or reworked battery packs in micromobility products such as e-scooters and e-bikes. You can review its safety guidance through the CPSC micromobility safety center.
The Australian Competition and Consumer Commission also warns that lithium-ion batteries can be highly flammable if incorrectly manufactured, handled, stored or disposed of. Its lithium-ion battery safety guide recommends buying from reputable suppliers, avoiding damaged batteries and charging on non-flammable surfaces.
Before wiring, follow these basic rules:
- Stop immediately if the battery is swollen, leaking, hot, smoking, dented or water damaged.
- Turn the scooter off and disconnect the charger.
- Remove metal jewelry, watches and loose metal tools.
- Work on a dry, clean, non-metallic surface.
- Never let a wrench or screwdriver bridge two battery terminals.
- Use insulated tools where possible.
- Do not open a sealed lithium battery pack.
- Do not solder directly onto lithium cells unless you are trained and equipped for pack building.
Choose the Right 24V Battery Setup
There are three common ways people build or replace a 24V electric scooter battery system.
Option 1: Two 12V Sealed Lead-Acid Batteries in Series
This is common in older scooters and low-cost mobility devices.
Advantages:
- Easy to understand
- Low upfront cost
- Widely available
- Simple terminal layout
Disadvantages:
- Heavy
- Lower usable energy
- Shorter cycle life than lithium
- Voltage drops more noticeably under load
- Slower charging
If your scooter originally used two 12V lead-acid batteries, replacing them with the same type is usually the simplest option. However, you should still check dimensions, terminal type, amp-hour rating and charger compatibility.
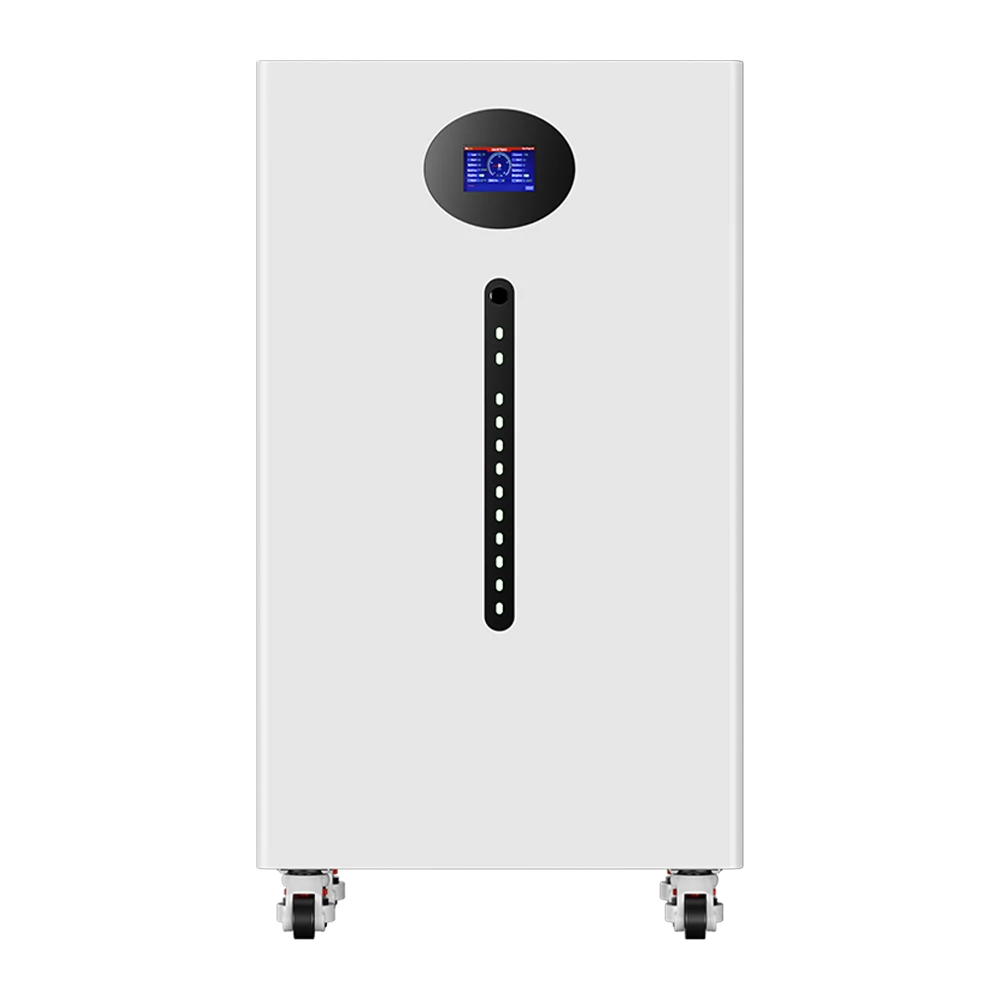
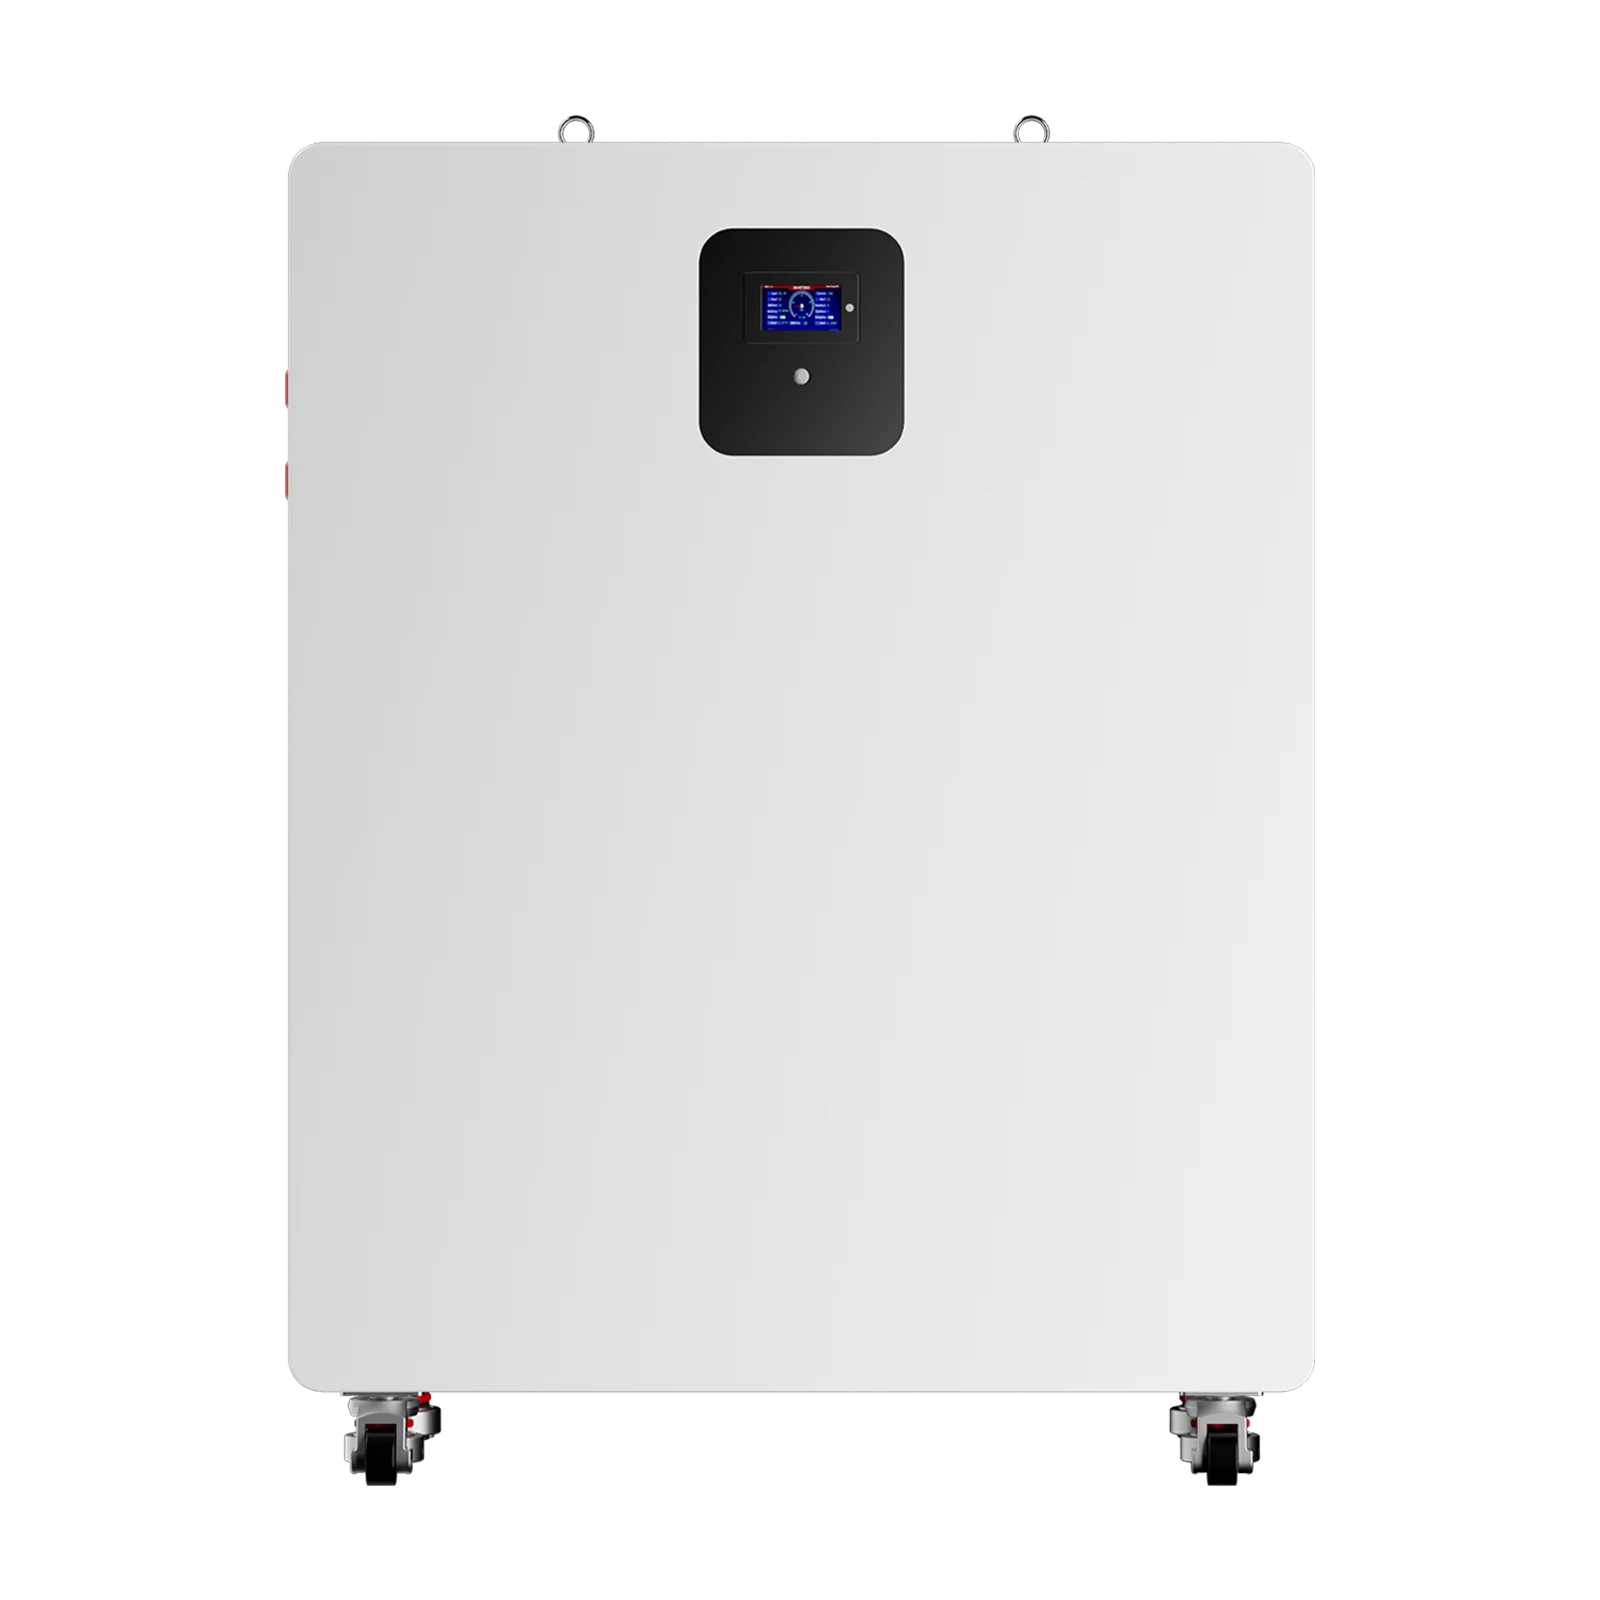
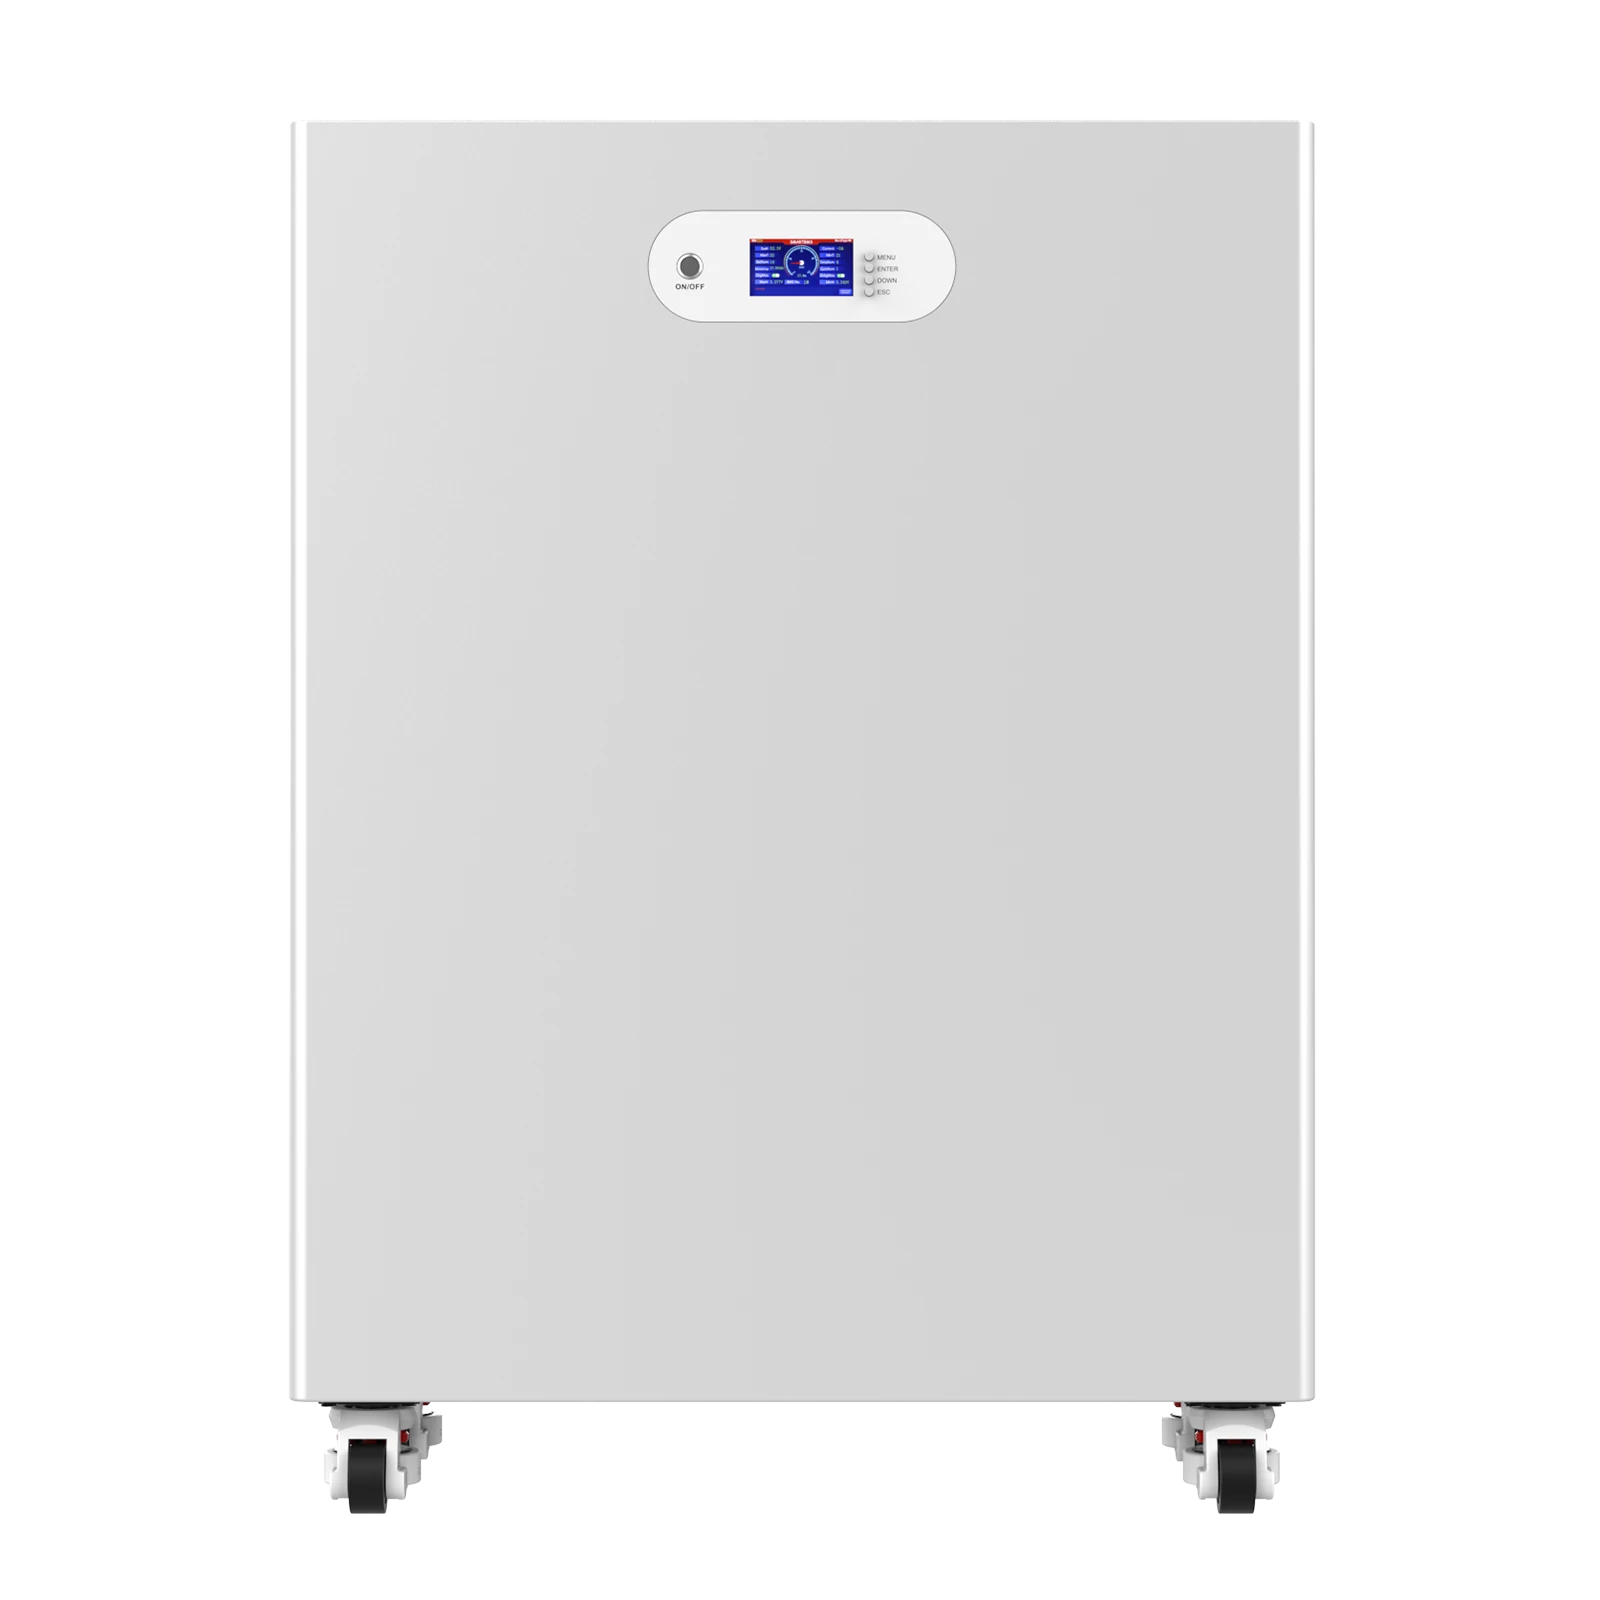
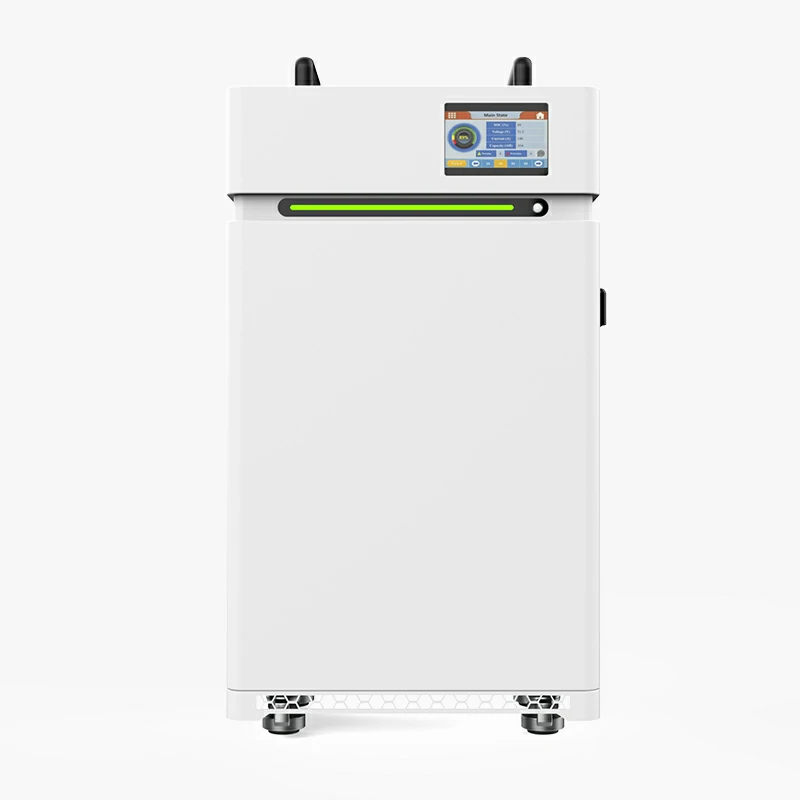
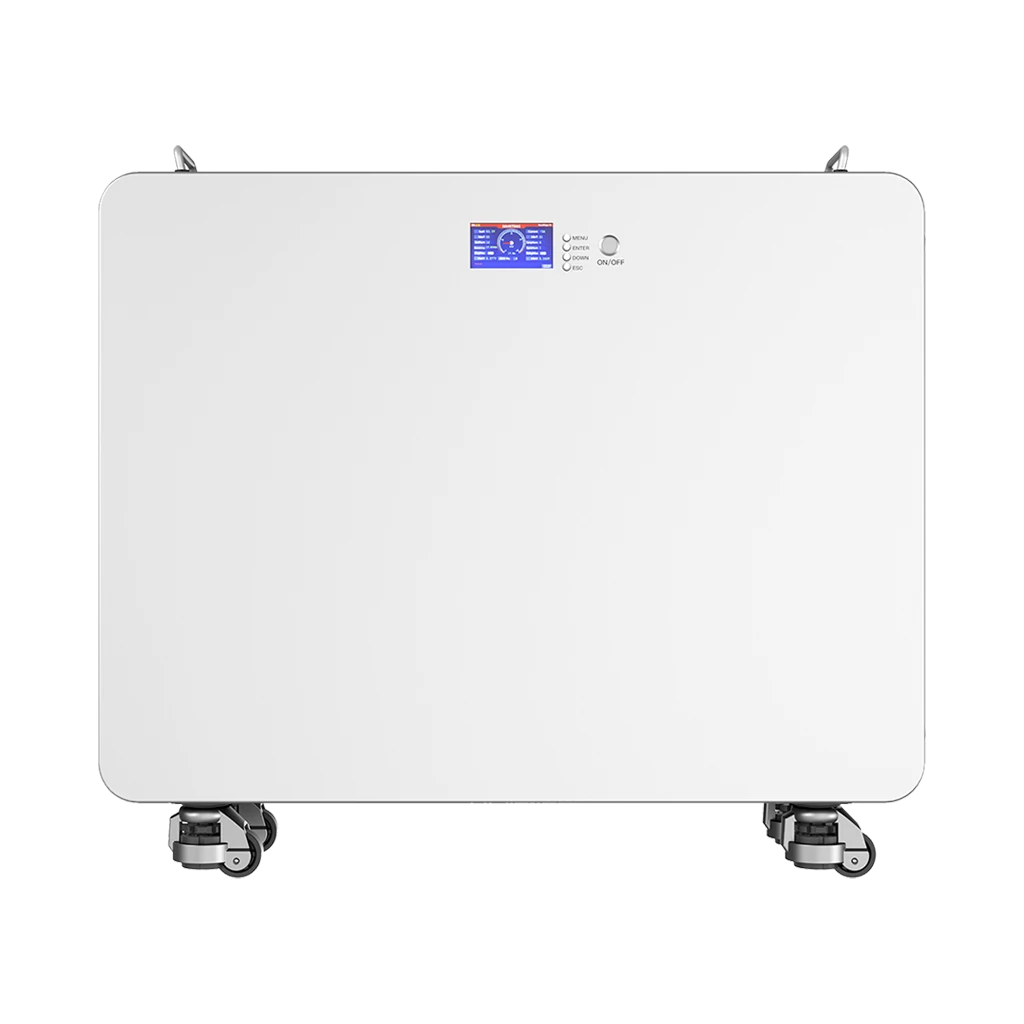
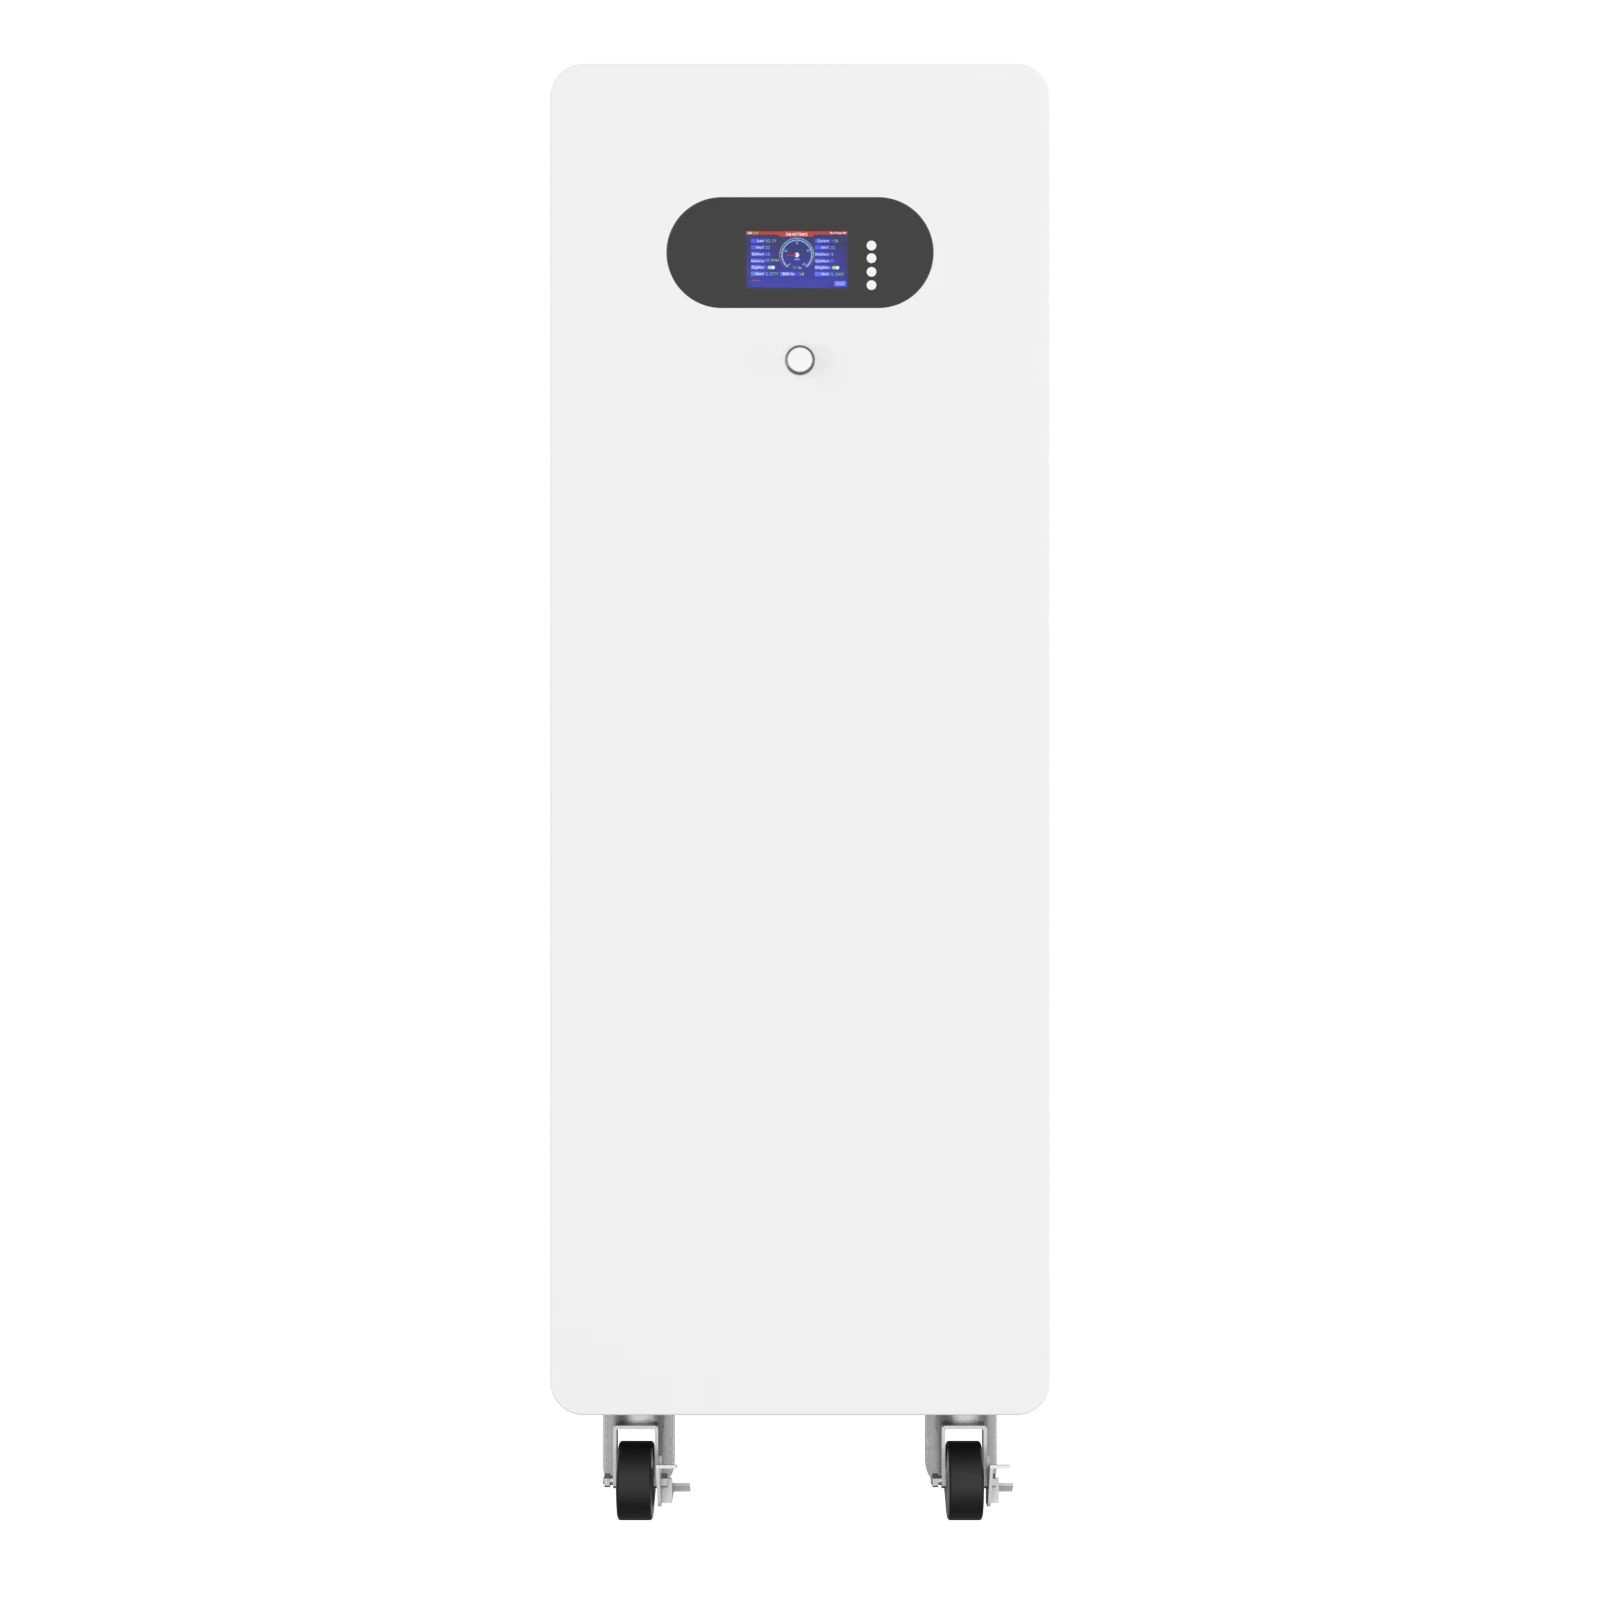
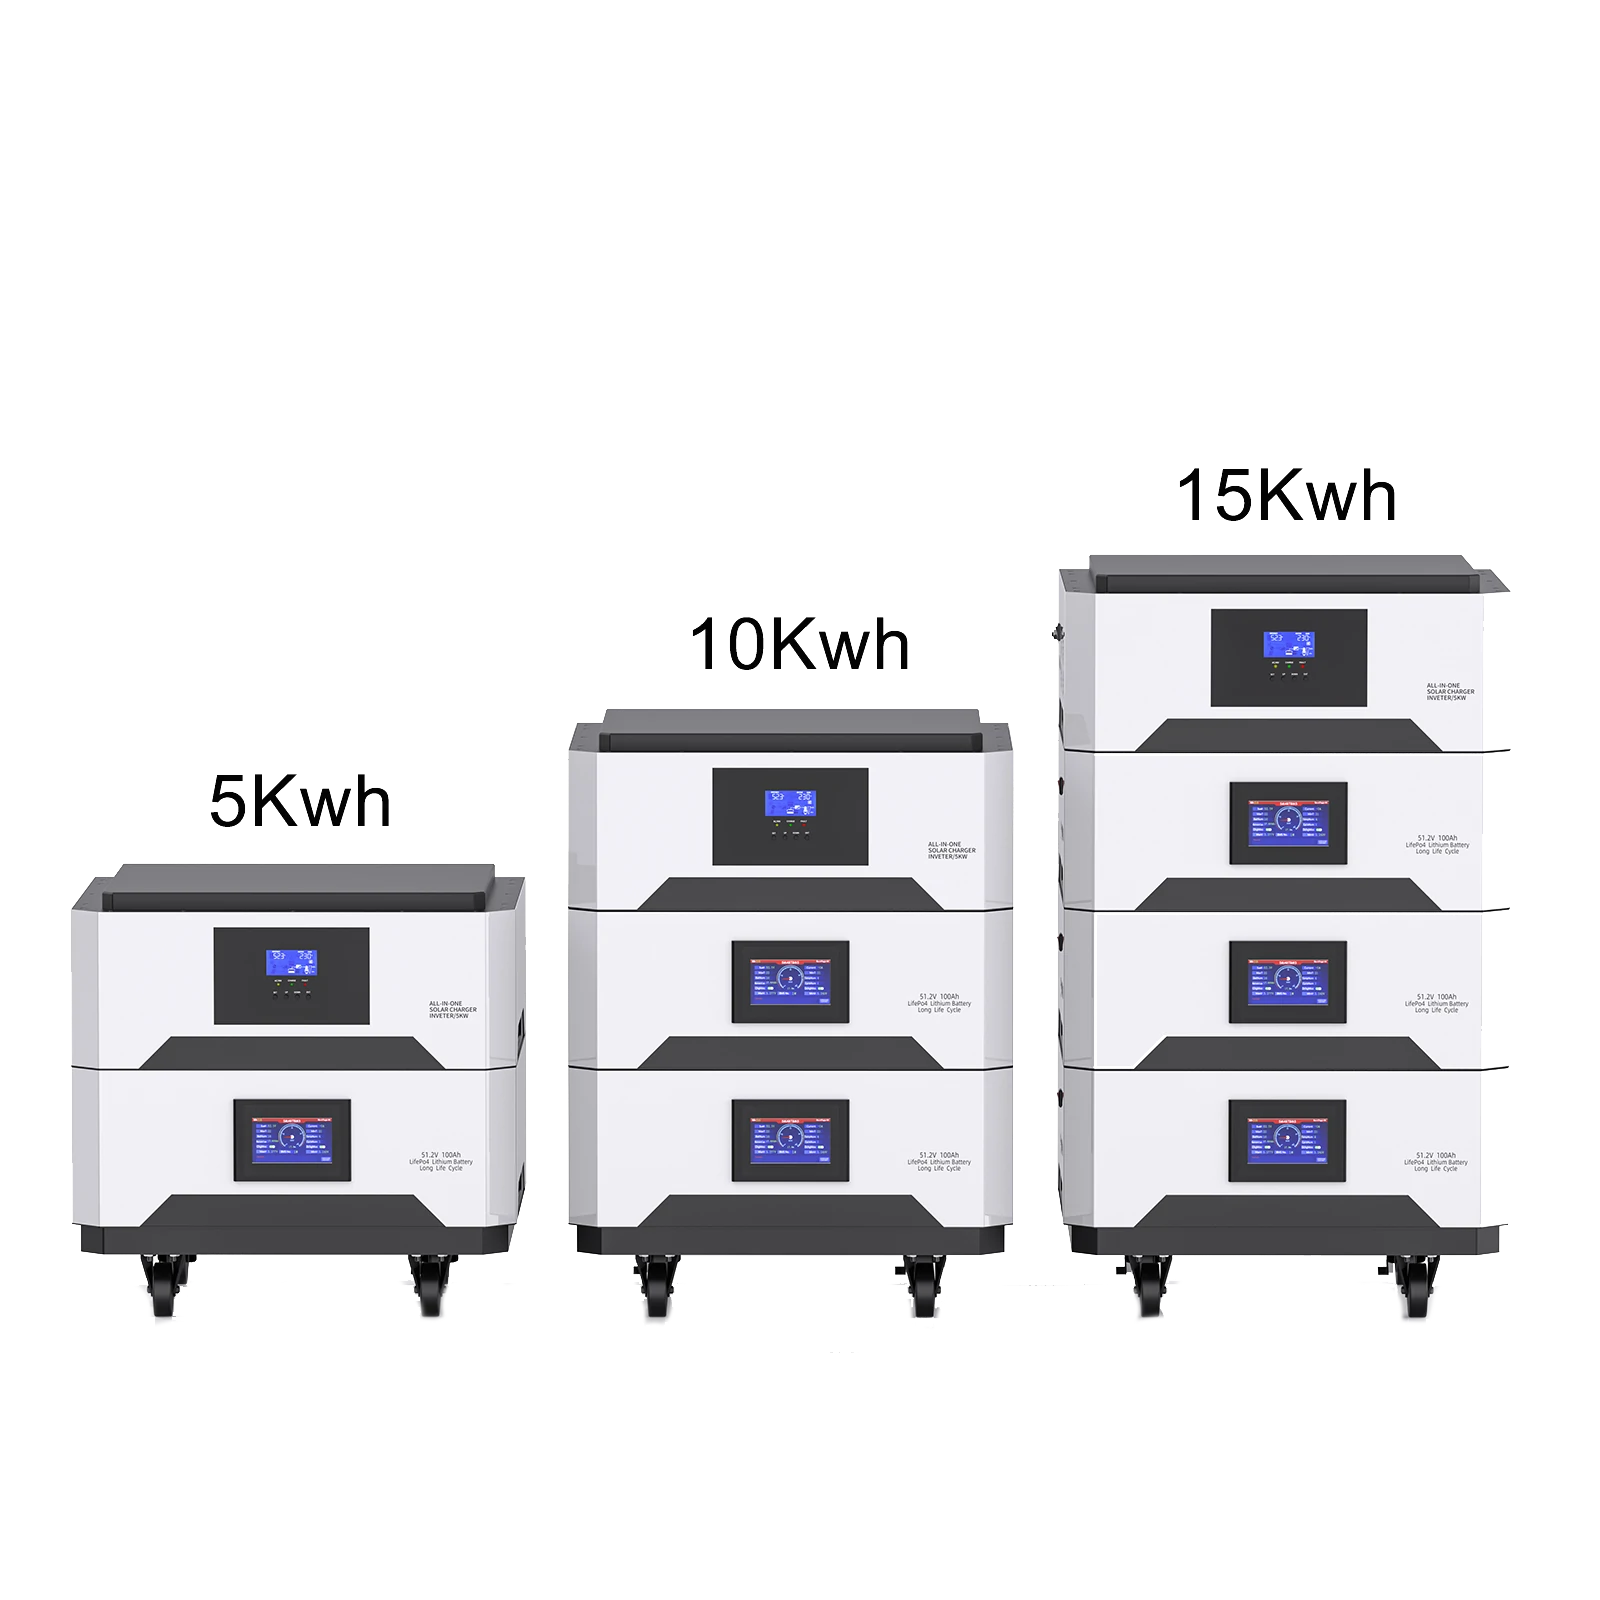
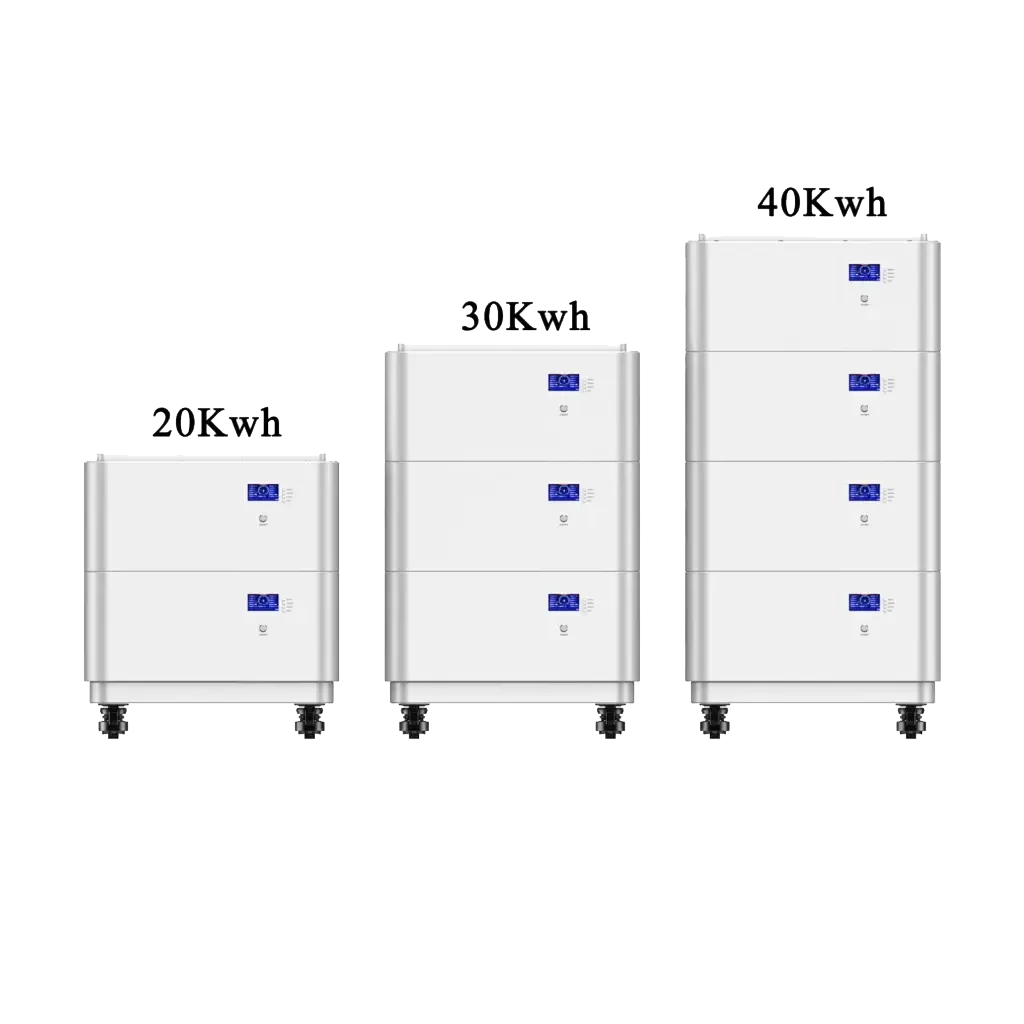
Option 2: One 24V Lithium-Ion Battery Pack
A single 24V lithium pack is cleaner because the series connections are already built inside the pack. You normally only connect the main positive and negative output leads.
Advantages:
- Lighter than lead-acid
- Better energy density
- Stronger voltage stability
- Less wiring work for the user
Disadvantages:
- Must use the correct BMS
- Must use the correct charger
- Poor-quality packs can be unsafe
- Not all lithium packs fit every scooter compartment
A 24V lithium-ion pack may be built with different cell configurations. Some are marketed as 24V even though the nominal and full-charge voltages vary by chemistry and cell count. This is why the charger and controller limits must be checked before installation.
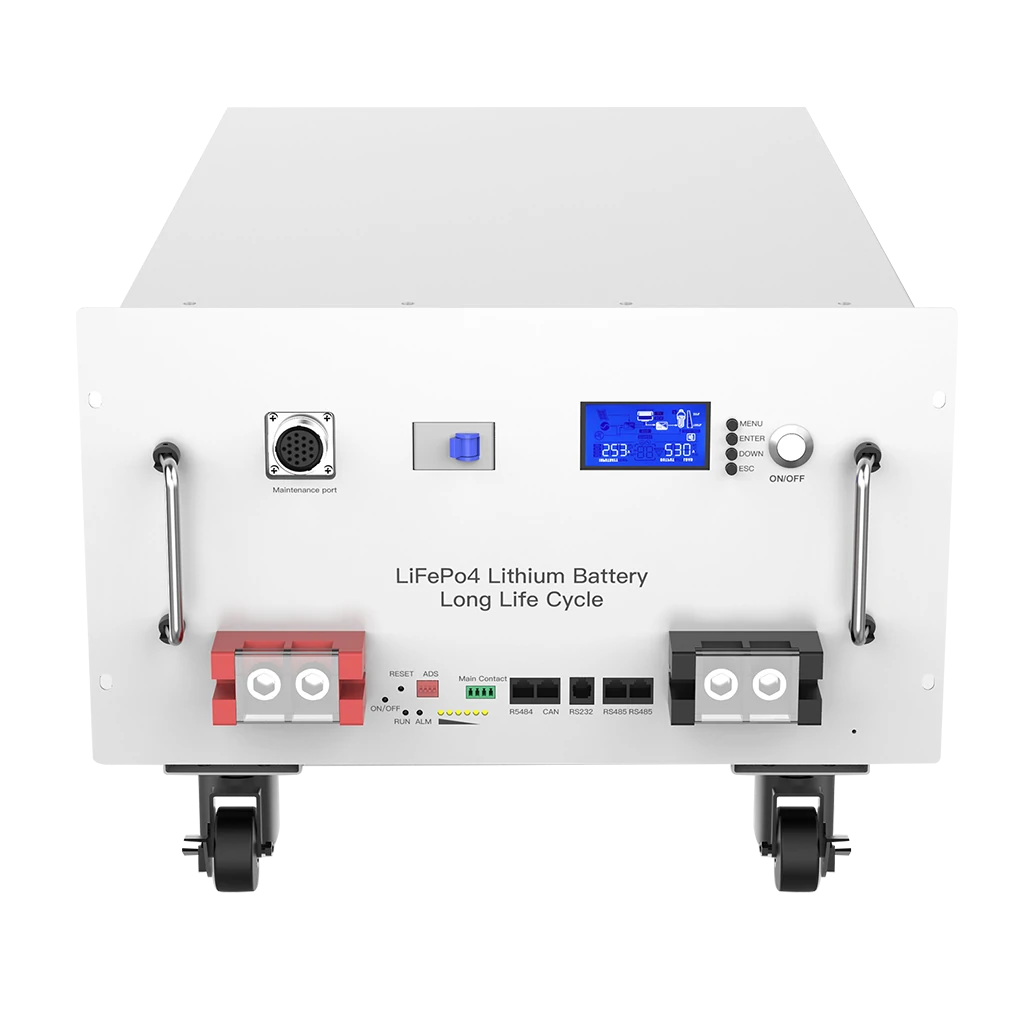
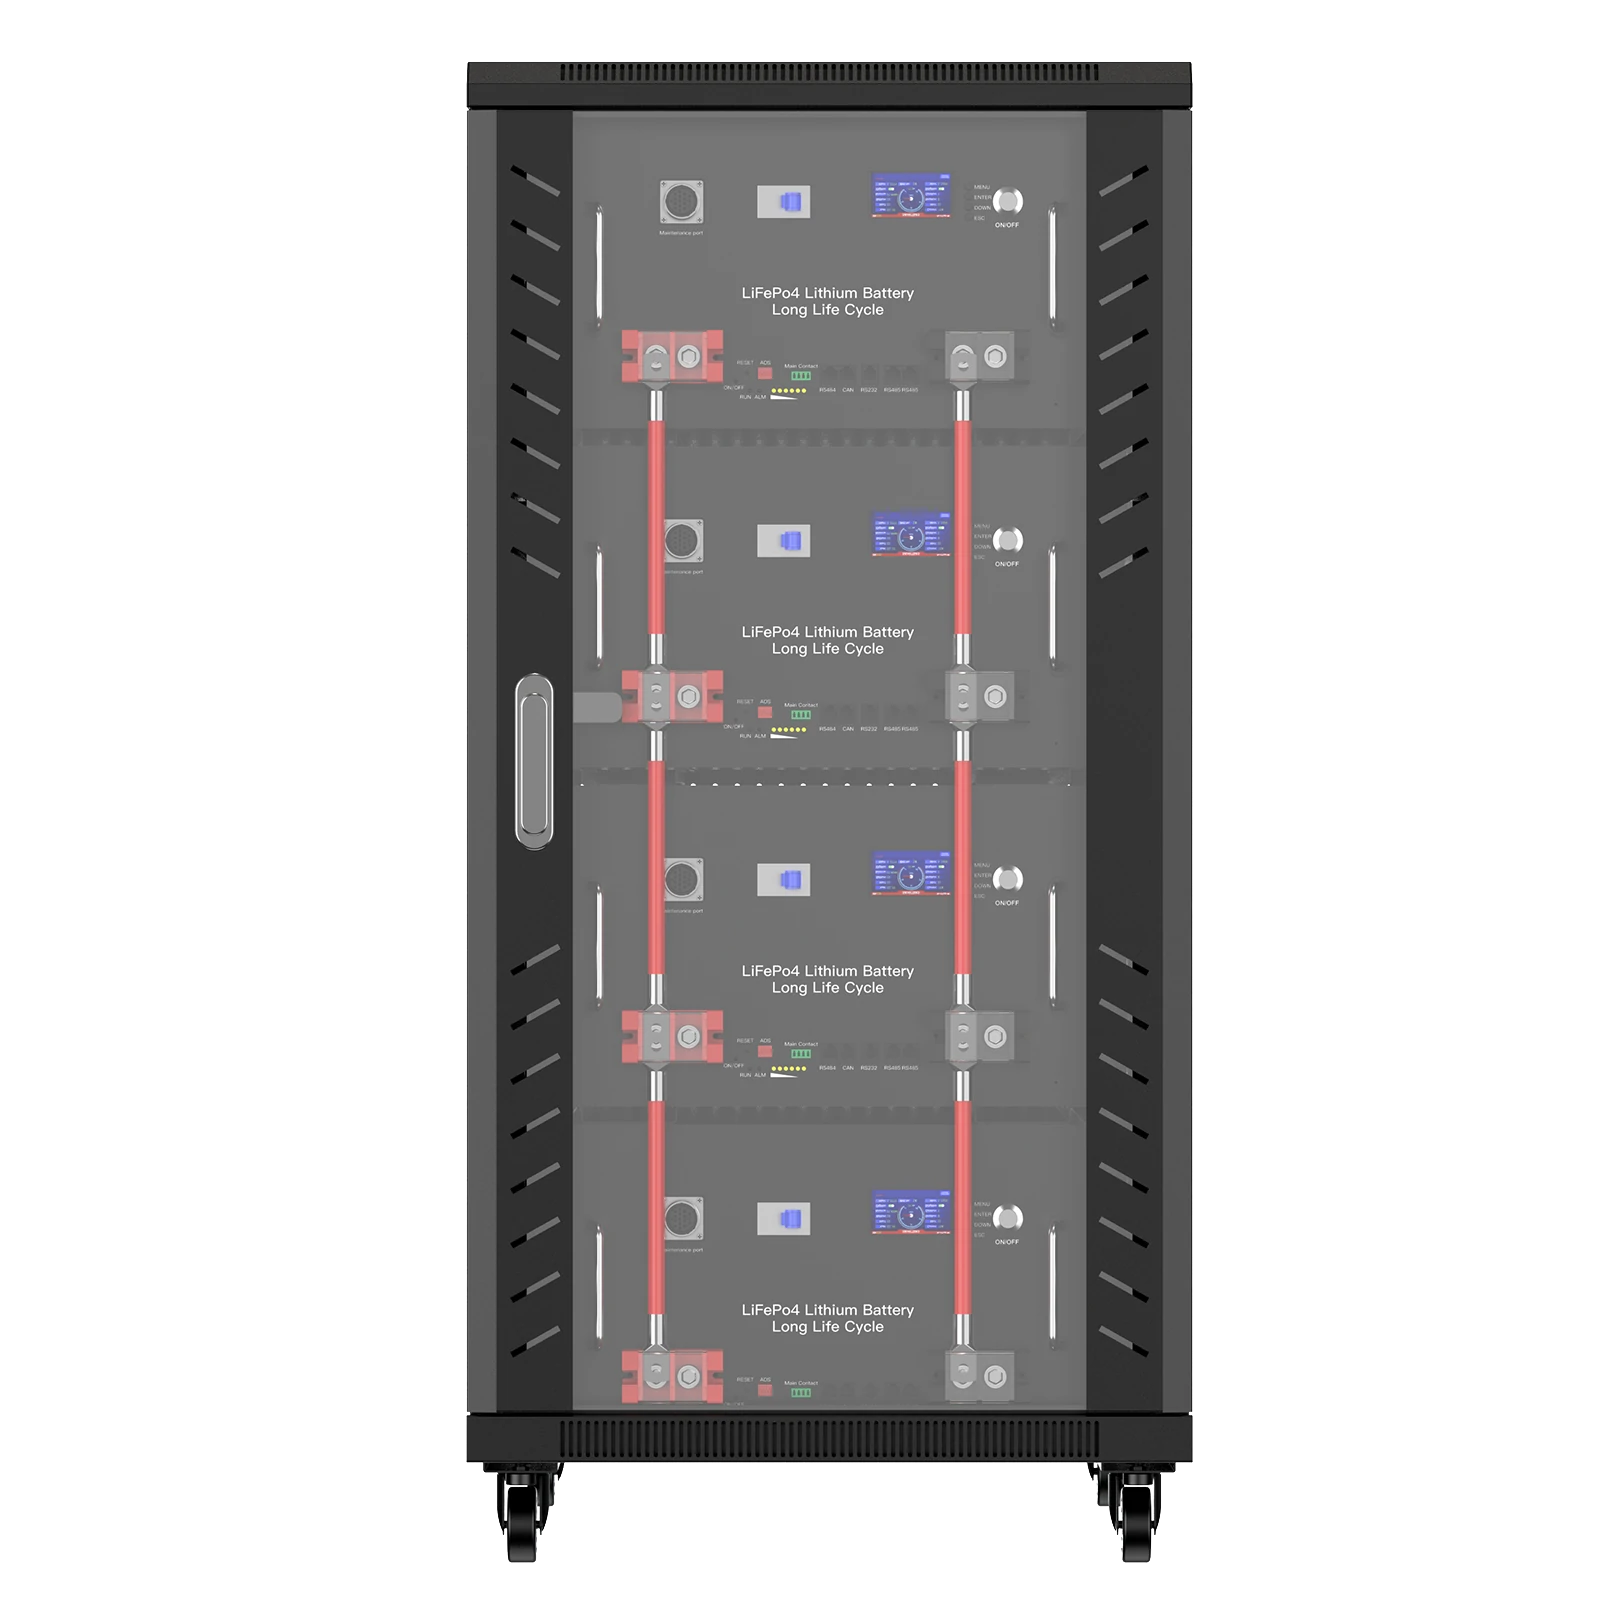
Option 3: One 24V LiFePO4 Battery Pack
LiFePO4 is often chosen when long cycle life, thermal stability and daily-use reliability matter more than the lowest possible weight.
For example, Avepower supplies 24V LiFePO4 battery options for users and project buyers who need stable lithium power with BMS protection. For higher-capacity applications, Avepower also offers a 24V 200Ah LiFePO4 battery.
LiFePO4 advantages:
- Stable lithium chemistry
- Long cycle life
- Strong safety profile compared with many high-energy lithium chemistries
- Good voltage stability under load
- Suitable for repeat-use applications
LiFePO4 considerations:
- Usually larger than high-energy NMC lithium packs
- Requires a LiFePO4 charger
- Must match controller voltage limits
- Needs a properly rated BMS for scooter current draw
If you are replacing a lead-acid scooter battery with LiFePO4, do not assume the old charger is suitable. The plug may fit, but the charging profile may be wrong.
24V Battery Voltage Is Not Always Exactly 24V
“24V” is a nominal system name. Actual voltage changes with chemistry, charge state and load.
| Battery Type | Common 24V Configuration | Nominal Voltage | Typical Full-Charge Voltage |
|---|---|---|---|
| Lead-acid | 2 × 12V batteries in series | 24V | Often around 25.4V at rest, higher during charging |
| Li-ion 6S | 6 cells in series | 22.2V | 25.2V |
| Li-ion 7S | 7 cells in series | 25.9V | 29.4V |
| LiFePO4 8S | 8 cells in series | 25.6V | 29.2V |
This matters because some scooter controllers are built for a narrow voltage range. If a controller is designed for a 24V lead-acid system, it may or may not tolerate a lithium pack that charges close to 29.2V or 29.4V. Always check the controller label or manual.
Tools and Parts You Need
Prepare everything before opening the scooter deck or battery compartment.
| Tool or Part | Why You Need It |
|---|---|
| Digital multimeter | To confirm polarity, voltage and continuity |
| Insulated wire cutters | To cut battery and controller wires safely |
| Wire stripper | To prepare clean conductor ends |
| Crimping tool | To attach terminals properly |
| Heat-shrink tubing | To insulate exposed connections |
| Proper connectors | XT60, Anderson, ring terminals or scooter-specific plugs |
| Inline fuse holder | To protect the circuit from short-circuit current |
| Correct fuse | Matched to controller and wire current rating |
| Main switch or key switch | To disconnect battery output when needed |
| Cable ties and mounts | To reduce vibration and strain on wires |
| Safety glasses and gloves | To reduce injury risk during wiring |
Do not rely on twisted wires and electrical tape as a long-term connection. A scooter vibrates during riding, and weak joints can loosen, heat up or arc.
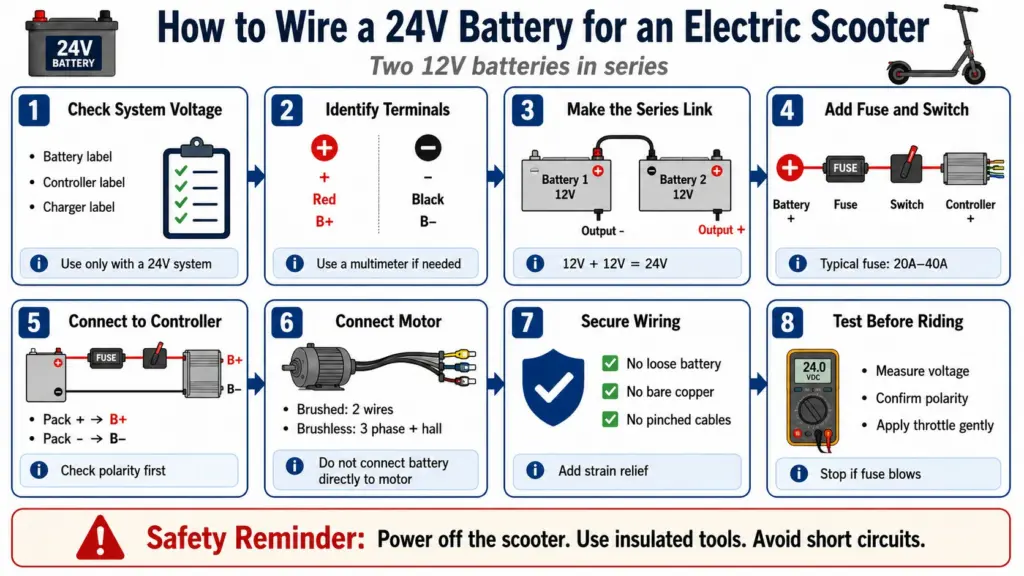
Step-by-Step: How to Wire a 24V Battery for an Electric Scooter
This section covers the common layout using two 12V batteries in series. If you have one ready-made 24V pack, skip the series-link step and connect the pack output to the controller through the fuse and switch.
Step 1: Confirm the Scooter Is Really a 24V System
Look for the voltage rating on:
- Original battery label
- Controller label
- Charger label
- Scooter manual
- Motor specification plate
A 24V scooter normally has a controller marked “DC 24V” or similar. If the controller says 36V or 48V, do not use a 24V battery unless the controller manual clearly supports it.
Step 2: Identify Positive and Negative Terminals
Each battery has a positive terminal and a negative terminal.
Positive is usually marked:
- “+”
- Red
- B+
- POS
Negative is usually marked:
- “−”
- Black
- B-
- NEG
Do not guess. Use a multimeter if the label is unclear.
Step 3: Create the Series Link
For two 12V batteries:
Connect:
Battery 1 positive (+) → Battery 2 negative (−)
This short cable is the series link.
After that, the two remaining free terminals become the 24V output:
- Battery 1 negative (−) = pack negative
- Battery 2 positive (+) = pack positive
A simple text diagram looks like this:
Battery 1 (−) —— 24V output negative
Battery 1 (+) —— series link —— Battery 2 (−)
Battery 2 (+) —— 24V output positive
This wiring makes the voltage add together:
12V + 12V = 24V
The amp-hour capacity does not double. If you wire two 12V 20Ah batteries in series, the result is 24V 20Ah, not 24V 40Ah.
If you want to estimate usable runtime, Avepower’s guide on how to calculate battery amp hours can help you compare battery size and load demand.
Step 4: Install a Fuse Near the Battery Positive
The fuse should be placed on the positive line as close to the battery as practical.
Basic layout:
Battery positive → fuse → main switch → controller positive
The fuse protects the wiring if a short occurs downstream. Without a fuse, a crushed cable or reversed connection can pull very high current from the battery.
A typical small 24V scooter may use a fuse somewhere around 20A to 40A, but this is only a general range. The correct fuse depends on:
- Controller current rating
- Motor wattage
- Battery BMS discharge rating
- Wire gauge
- Connector rating
- Manufacturer recommendation
Use the scooter manual or controller label as the first reference. Do not oversize the fuse just to stop it from blowing. A fuse that is too large may fail to protect the wire.
Step 5: Connect the Battery Output to the Controller
Most controllers have two main battery input wires:
- Red wire: battery positive
- Black wire: battery negative
Connect:
- Pack positive → fuse → switch → controller B+
- Pack negative → controller B−
Before turning anything on, check polarity with a multimeter at the controller input. Reversed polarity can destroy a controller instantly.
Step 6: Connect the Motor to the Controller
Motor wiring depends on whether your scooter uses a brushed or brushless motor.
A brushed motor usually has:
- Two thicker motor wires
A brushless motor usually has:
- Three phase wires
- Hall sensor connector
- Sometimes additional speed or temperature wires
Do not connect the battery directly to the motor unless the scooter design specifically calls for it. The controller is there to manage speed, current and switching. Bypassing it can cause sudden movement, sparks or component damage.
Step 7: Secure the Battery and Wiring
Electric scooters vibrate. Loose battery packs and unsupported wires can fail over time.
Check that:
- Batteries cannot move inside the compartment
- Terminals are covered
- Wires do not rub against sharp metal edges
- Connectors are locked
- Cables are not pinched by the deck cover
- Fuse holder is accessible
- No bare copper is visible
- Wires have strain relief near connectors
Use cable ties, foam padding, brackets or battery straps where needed. A clean installation is safer and easier to troubleshoot later.
Step 8: Test Voltage Before the First Ride
Before powering the scooter:
- Set the multimeter to DC voltage.
- Measure across the pack output.
- Confirm the reading is in the expected range.
- Confirm positive and negative are not reversed.
- Turn the main switch on.
- Watch for sparks, smoke, smell or heat.
- Lift the drive wheel off the ground.
- Apply the throttle gently.
The wheel should start smoothly and stop when the throttle is released.
If the fuse blows immediately, stop. Do not install a larger fuse without finding the cause.
How to Wire a Single 24V Lithium Pack
A single 24V lithium pack is easier because the internal series connections are already built.
The basic layout is:
24V battery positive → fuse → switch → controller positive
24V battery negative → controller negative
The BMS is usually inside the pack. Its job is to protect the cells from unsafe operating conditions. A good BMS may include protection against:
- Overcharge
- Over-discharge
- Overcurrent
- Short circuit
- Cell imbalance
- High temperature
- Low temperature
However, a BMS is not a reason to ignore fuse protection. The fuse protects the external wiring. The BMS protects the battery pack. Both matter.
For buyers sourcing custom lithium systems, Avepower provides custom battery pack and energy storage solutions with BMS, communication, capacity and structure options for different project requirements.
Match the Charger to the Battery Chemistry
One of the biggest mistakes in scooter battery replacement is using the wrong charger.
A 24V lead-acid charger is not automatically suitable for a 24V lithium or LiFePO4 pack. A lithium pack needs the correct charging voltage and charging profile. Using the wrong charger can cause undercharging, overcharging, BMS cutoff or battery damage.
Follow these rules:
- Use the charger supplied or approved by the battery manufacturer.
- Check the charger output voltage.
- Check the battery chemistry.
- Check the plug polarity.
- Do not use a charger only because the connector fits.
- Do not charge unattended.
- Do not charge on carpet, bed, sofa or near exits.
Fire and Rescue NSW specifically warns users to use the right charger and notes that just because a plug fits, it does not mean the charger is compatible. Their charge-safe guidance is available here: shop, charge and recycle safely.
Wire Size: How Thick Should the Cable Be?
Wire size depends on current, cable length and acceptable voltage drop.
For many small scooters, short battery-to-controller wires may fall into this rough range:
| Controller Current | Common Short-Run Starting Point |
|---|---|
| 10A to 15A | 14 AWG may be enough |
| 20A to 30A | 12 AWG is often more suitable |
| 30A to 40A | 10 AWG is often safer |
This table is only a starting point. Always check:
- Controller peak current
- Wire insulation temperature rating
- Cable length
- Connector current rating
- Local electrical practice
- Manufacturer instructions
If a wire becomes warm during normal riding, it may be undersized, poorly crimped or overloaded.
Should You Build a 24V Pack from Loose Lithium Cells?
For most scooter owners, no.
Cell-level battery building requires:
- Correct cell matching
- Spot welding equipment
- Insulation rings
- Nickel strip sizing
- BMS wiring knowledge
- Thermal protection
- Pack enclosure design
- Short-circuit prevention
- Proper testing equipment
Loose-cell lithium pack building is not the same as connecting two sealed 12V batteries. A poor connection inside a lithium pack can create heat, imbalance or fire risk.
If you need a lithium upgrade, a ready-made 24V battery pack with a proper BMS is usually the safer choice. For custom voltage, capacity or enclosure requirements, a professional supplier such as Avepower can support OEM and ODM battery customization instead of unsafe DIY pack rebuilding.
What About Safety Standards for Scooter Batteries?
If you are buying batteries for resale, fleet use, OEM projects or commercial distribution, safety standards matter.
NSW Fair Trading lists accepted standards for e-scooters, e-skateboards, self-balancing scooters and their batteries, including UL 2271 for batteries and UL 2272 for personal e-mobility device electrical systems. You can review the current requirements here: NSW e-micromobility safety standards.
UL also lists UL 2271 as the standard for batteries used in light electric vehicle applications. More details are available through UL Solutions’ battery safety testing and certification page.
For a personal scooter repair, you may simply want the scooter to run again. For a business buyer, brand owner or distributor, the bigger issue is product liability, quality control and market access. Battery safety is not only a wiring topic. It is a supply-chain topic.
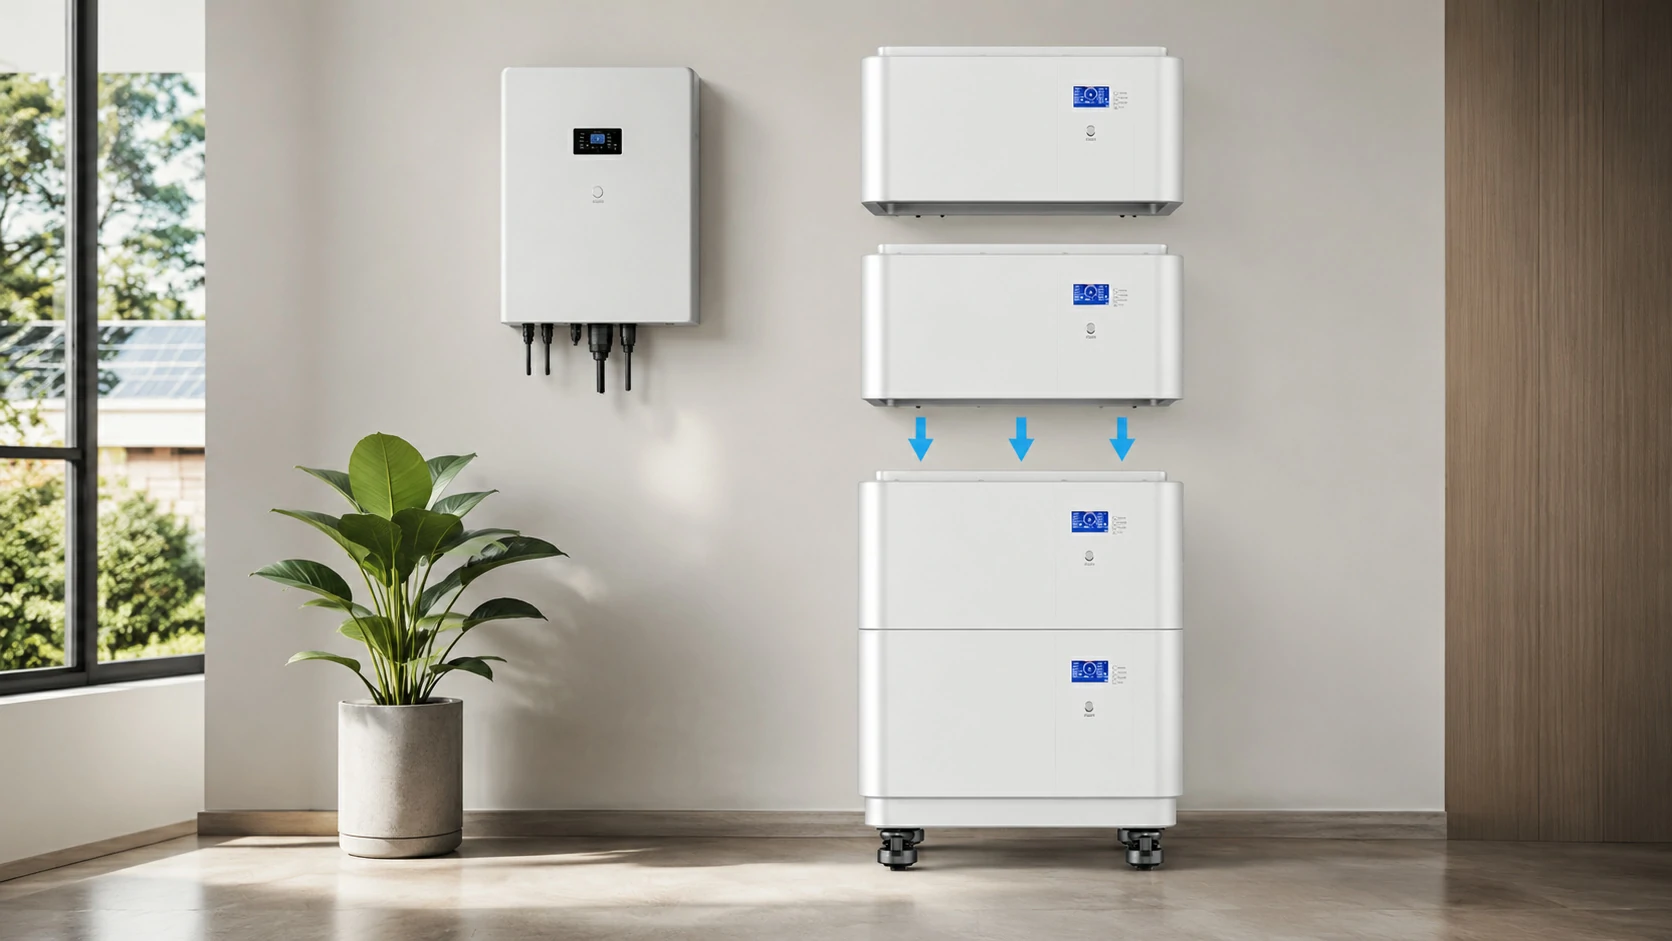
When a 24V Battery Needs More Than Basic Wiring
Avepower focuses on lithium and LiFePO4 battery systems with BMS protection, manufacturing control and customization support. For simple scooter repairs, users should always follow the original scooter manufacturer’s battery specification.
For buyers who need 24V lithium batteries for mobility equipment, portable systems, custom products or small electric platforms, Avepower can help evaluate:
- Battery voltage
- Capacity in Ah or Wh
- Continuous discharge current
- Peak current
- BMS protection logic
- Connector type
- Enclosure size
- Charging method
- Certification requirements
- Labeling and packaging needs
You can explore Avepower’s 24V LiFePO4 battery options or contact the team through the warranty and support page if you need project-level assistance.
Conclusion
Learning how to wire a 24V battery for a electric scooter starts with one simple idea: if you use two 12V batteries, they must be wired in series to create 24V. But safe wiring goes far beyond that one connection.
You need to confirm the scooter voltage, match the controller, use a correct fuse, choose suitable wire size, verify polarity with a multimeter, secure all connections and use the right charger for the battery chemistry.
For lead-acid systems, the wiring is simple but the battery is heavy and less efficient. For lithium and LiFePO4 systems, the pack is lighter and often more durable, but the BMS, charger and safety design become more important.
If you are replacing a scooter battery, do not rush. Measure first, connect second, test carefully and never use damaged or modified lithium battery packs. A clean 24V wiring job should make the scooter safer, more reliable and easier to maintain.
FAQ
Connect the positive terminal of the first 12V battery to the negative terminal of the second 12V battery. The two remaining free terminals become your 24V output. Connect that output to the scooter controller through a fuse and main switch.
No. Parallel wiring keeps the voltage at 12V and increases capacity. A 24V scooter needs series wiring if you are using two 12V batteries.
The fuse depends on the controller current, motor wattage, wire size and manufacturer recommendation. Many small 24V scooters may use a fuse in the 20A to 40A range, but you should always follow the scooter or controller specification.
Because 24V is a nominal rating. A 24V LiFePO4 pack may charge to about 29.2V, while some lithium-ion configurations may charge to 25.2V or 29.4V depending on cell count. Always check controller voltage limits.
Not for most users. Building lithium packs requires cell matching, spot welding, BMS wiring, insulation, testing and safety knowledge. A ready-made certified battery pack is usually safer.
Stop using and charging it immediately. Move it away from combustible materials if safe to do so and follow local fire or recycling authority guidance. Do not continue riding with a damaged battery.